by
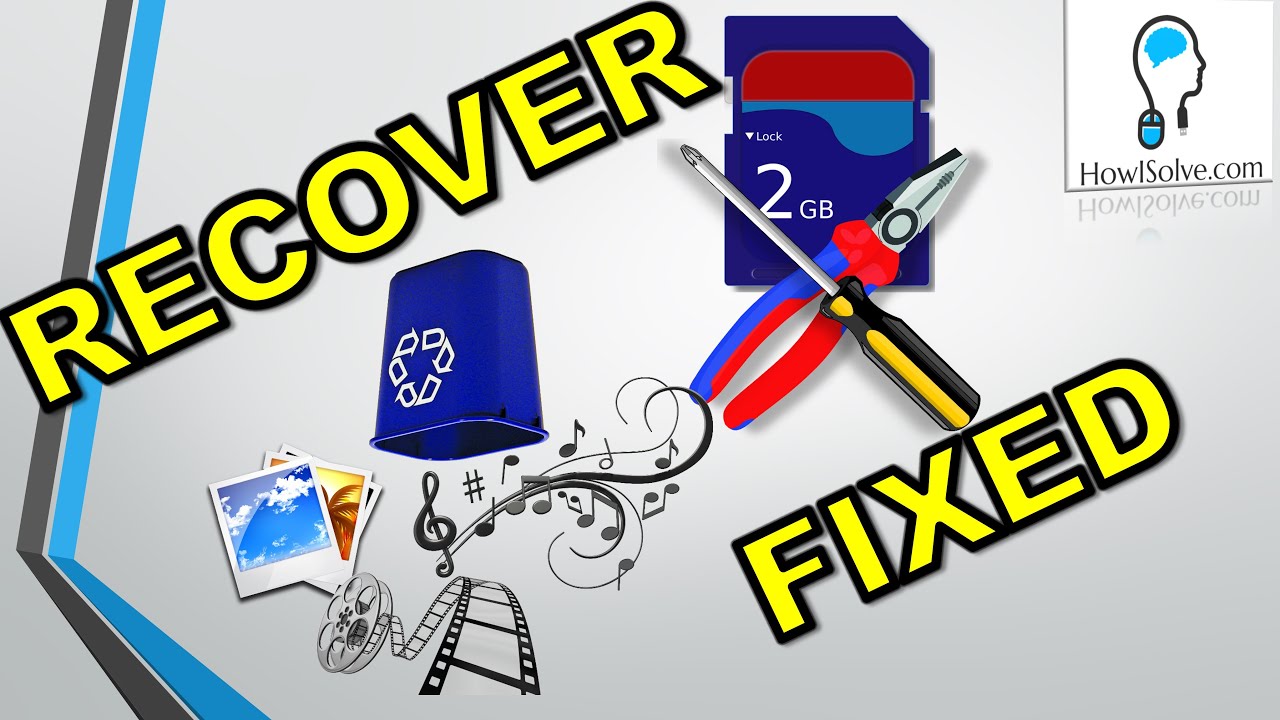
by Are all your files on your SD card lost? Is your Android phone showing the error messages blank SD card or damaged SD card?
Don’t worry friends.
In this post, I will show you step-by-step how to recover data and fix your SD card. Having the error messages damaged/ blank SD card.
Identify the Cause
These error messages damage / blank SD card can happen due to many reasons. So we must first narrow down to the exact reason this error is happening on your device. We had done that in this post Solved:Blank / Damaged SD Card Error. If you have not read it, I would suggest that you first check that out and then continue with this tutorial if applicable.
List of Requirements
- An SD Card Reader
- A Windows 10/8.1/7 System
- H2testw Utility (Download link)
- Administrative Rights
Recover Data and Repair SD Card
Step 1: Connect SD Card Using Card Reader
When you connect the SD card to your computer there can be four possible scenarios
- The SD card is detected properly and all your files are visible in the drive
- You can skip to Step 4 Run chkdsk.
- The SD card is not detected
- The SD card is detected but there are no files visible on it
- The SD card is detected but there is an error message
The error message can be something like this
You need to format the disk in drive E before you can use it. Do you want to format it
All these three cases show a possible file system corruption on the SD card. But don’t worry friends, we will show you step-by-step how to solve this problem.
Step 2: Open Disk Management
In Windows 7
- Click on Start
- Click on Control Panel
- Click on Administrative Tools
- Click on Computer Management
- Click on Disk Management
In Windows 10 or Windows 8.1
- Right click on the Start
- Select Disk Management
Check File System Type
- Under the volume find the SD card drive
- Use the SD card capacity to Identify
- After Identifying scroll down to your SD card disk
- Check the file system on your disk
- If it’s been shown FAT, FAT 16, FAT 32 or NTFS, then you can continue with this tutorial.
- But if the file system shown is raw this tutorial might not work. To fix this problem use our guide for solving advanced file system corruption click here.
Step 3: Open CMD in admin mode
In Windows 7
- Click on start
- Type CMD in search
- Right Click on cmd.exe
- Select Run as Administrator
- If a UAC pops up click yes
In Windows 10 and 8.1
- Right click on the Start
- Select Command Prompt Admin
- If a UAC pops Click on yes
Step 4: Run chkdsk
Warning: The below chkdsk command can take a lot of time to complete. Run this command only if you can keep it running for the entire process to finish. The time depends on the SD card size and disk usage.
- Type the command CHKDSK /x /r j: in cmd
- Note: Here j: is the drive letter of my SD card drive, replace it with the drive letter of your SD card
- Hit Enter
This will dismount the drive and then try to repair the file system automatically. After this, your SD card should be detected on your computer properly with all your files visible.
If the CHKDSK did not complete and you receive an error message. Follow this guide to solve this advanced file system corruption.
Step 5: Backup SD Card
- Created a folder called backup on your computer
- Select all the files in your SD card type Ctrl + A
- Copy them type Ctrl + C
- Go to the backup folder you created
- Paste all the selected files and folders Ctrl + V
Step 6: Format SD Card on PC
- Right click on the sd card drive
- Select Format
- Select the default file system type
- Select default allocation size
- Type any name in volumes label
- Check quick format
- Click on Start
- Click okay on the warning message
- In the Format Complete Notification, click Ok
- Click on Close
Step 7: Test SD Card Speed & Capacity
- Download H2testw Utility
- Extract the zip file
- Open folder h2testw_1.4
- Click on h2testw.exe
- Select the language as English
- Select the target
- This will be your SD card drive
- In Data Volume select the radio button all applicable space
- Click on Write + Verify
Note: This will take some time. Depending upon the capacity of your SD card and on its read/write speed
If your SD card was fake it would show a warning/error in the results. Indicating that it was not able to write the entire capacity of the disk.
Step 8: Format SD Card on Phone
We are performing this step because there are a couple of devices which need the SD card to be formatted using its own utility.
- Remove the SD card from the SD card reader
- Inserted it back into your Android device
- Pull the notification section down
- Tap on the settings icon
- Search for storage option and tap it.
- Scroll down
- Tap on the format SD card
- On the confirmation dialog box Tap again on Format SD card
Step 9: Copy SD Card Backup from PC
- Insert the SD card into the computer using the SD card reader
- Open your backup folder
- Select all files and folders Ctrl + A
- Copy all Ctrl + C
- Open your SD Card Drive
- Paste All press Ctrl + V