by
by In this video learn how to block adult content on any device. Be it android, iPhone, Windows, or even at a network level using your Wifi Router. We will first look at how this adult content block works and what all content is blocked. Then I will show you how to apply this filter on a device-to-device basis. First, we will cover android followed by iPhone and Windows. Then I will show you how you can implement this block on a network level. To do that we will need to make changes to the router settings. So let’s get started.

▼Type @ Family DNS Server▼
- Private DNS Hostname: family.cloudflare-dns.com
- IPv4 Primary DNS Server: 1.1.1.3
- IPv4 Secondary DNS Server: 1.0.0.3
- IPv6 Primary DNS Server: 2606:4700:4700::1113
- IPv6 Secondary DNS Server: 2606:4700:4700::1003
▼Scan @ Video Index▼
- 00:00 Intro
- 00:30 How It Works
- 02:20 Block in Android 9.0 and Above
- 03:56 Block in Android 8.0 and Below
- 05:56 Block in iPhone
- 06:37 Block in Windows
- 08:09 Block in Router
- 09:13 Block in Linksys Router
- 09:58 Block in Asus Router
- 10:23 Block in TP-Link Router
- 10:57 Block in JIO GIgaFiber Router
1 How It Works
We will be using the free family DNS service provided by Cloudflare to block and filter adult content. This service will not only block websites that have got adult content on it. But it also turns on a mandatory safe search option on the major search engine providers like google, bing, duckduckgo, etc.
So when you use this DNS Server it will check the domain name in their adult content blacklist and will reset the connection if the domain name is found on it. Also, Google and other search providers automatically detect the DNS server and turn on the safe search option which filters out any adult content in the search result. This safe search option can not be disabled.
2 Block in Android 9.0 and Above
On Android 9.0 and above it is quite easy to change the DNS server. We will use the Private DNS Hostname feature which will change the DNS for both mobile data as well as Wifi.
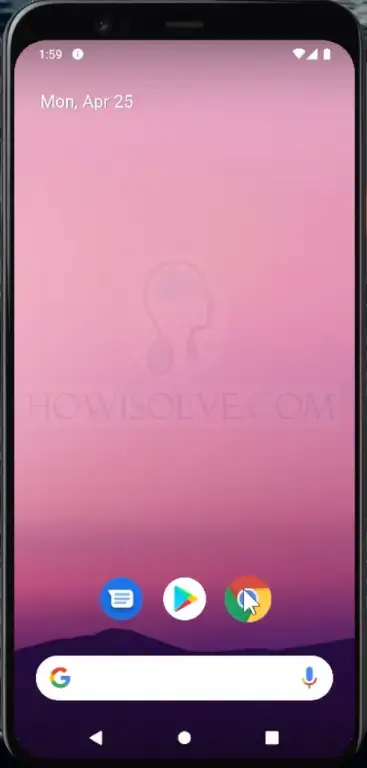
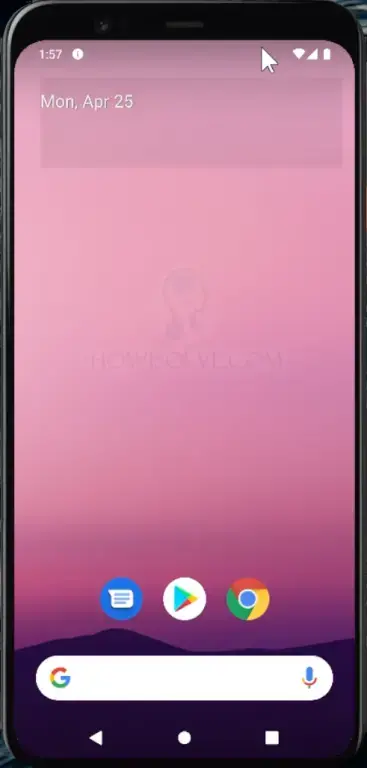
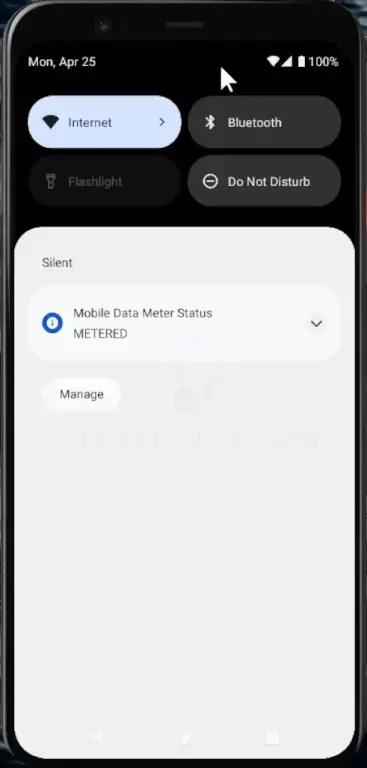
- Swipe down the notification tray and swipe down once again to reveal the settings cog icon.
- Tap on the settings cog icon to open it. In that tap on Network & Internet.
- Scroll Down and You will see near the bottom Private DNS which is set to automatic by default.
- Tap on Private DNS and change it from automatic to Private DNS Provider Hostname.
- Then in the text field below type in family.cloudflare-dns.com
- After that tap on Save and that’s it now adult content will be blocked on your android device.
3 Block in Android 8.0 and Below
In Android 8.0 and below you will need to set your wifi setting to Static IP address to change the DNS settings for your network. This is a drawback because this DNS setting only applies to Wifi networks. Also if you change the wifi network you will need to manually change the IP address to make sure it connects. You can get away from these shortcomings if you have root access.
- Swipe down the notification tray and swipe down once again to reveal the settings cog icon.
- Tap on the settings cog icon to open it. In that tap on Network & Internet.
- In-Network & Internet Tap on Wifi or Internet in this tap on the Wifi Network to which you are connected.
- This will open the network details page scroll down and tap on advanced you should see the network configuration details.
- Take a note of the IP address and gateway settings you need to type this later on.
- Now scroll to the top and you will see a pencil icon click on that to edit the network configuration.
- In this screen tap on advanced options and scroll down and change the IP settings from the default DHCP to Static.
- Now type in the IP Address and Gateway details as noted before in the DNS 1 type 1.1.1.3
- Now type in the DNS 2 type 1.0.0.3 then tap on save.
You have successfully blocked adult content on your device when you are using this wifi network.
4 Block in iPhone
To block adult content on iPhone DNS settings can only be changed in wifi settings. This means if you use your cellular data or mobile data you can bypass the block. But luckily iPhone supports changing the DNS server without making the IP Address Static. So you need not need to worry about noting down the current network IP Address.
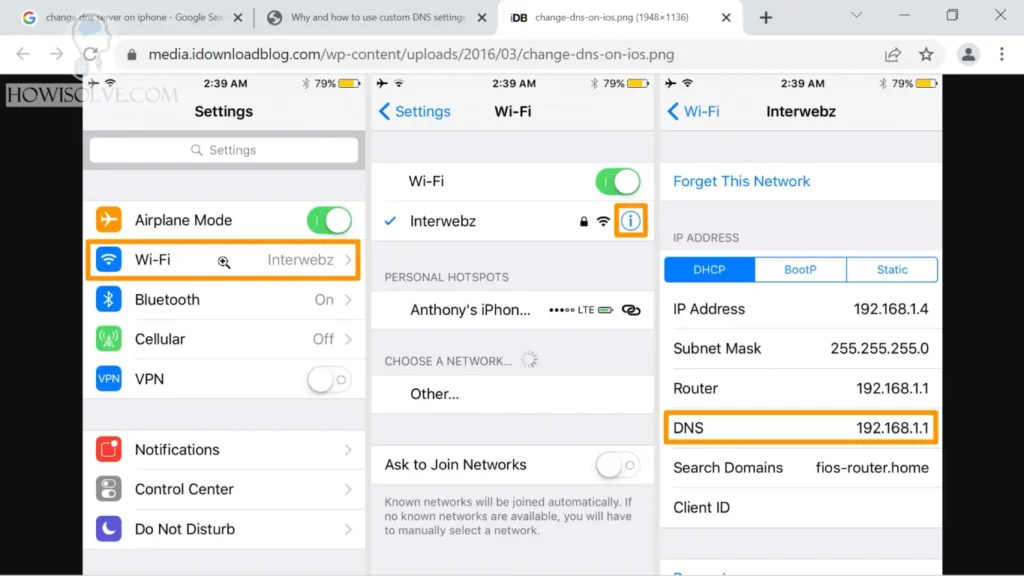
- Open the Settings app on iPhone by searching for it in the search bar or tapping the Setting icon present on the home screen.
- In the settings tap on the Wifi Subsection.
- Tap on the i icon next to the wifi network to which you have connected.
- In this screen in IP Address, you will see under the DHCP Tab DNS is mentioned.
- Tap on the DNS to edit it to 1.1.1.3
Now when you are connected to this wifi network adult content will be blocked.
5 Block in Windows

This method works on all versions of Windows from Windows XP to Windows 11. We will be changing the DNS server settings of the network adapter to apply this adult content filter. Depending on your system configuration you might have a network adapter for wifi and a network adapter for LAN (Ethernet). If you want to block adult content when you are using the internet via Wifi or Ethernet or both. Then you need to change the network adapter settings accordingly.
- In the taskbar click on search and type control panel.
- Open the control panel and go to Network and Sharing Center.
- Inside Network and Sharing Center, on the left side, you will see the option named change adapter settings click on it to open Network Connections.
- Under Network Connections, you will find all the network adapters that are installed on your system.
- Depending on your requirement right click on the network adapter using which you are connected to the internet and want to block adult content.
- Then click on the properties in this you will see “Internet Protocol Version 4 (TCP/IP)” click it to select it and then click on properties.
- In the general tap change the option from “obtain DNS server address automatically” to “use the following DNS server addresses”.
- For the preferred DNS Server type in 1.1.1.3
- In the alternate DNS Server type in 1.0.0.3
- Then click on Ok to save the settings. After that click on “Internet Protocol Version 6 (TCP/IP)” to select it and click on properties.
- Again change the option in the general tab from “obtain DNS server address automatically” to “use the following DNS server addresses”.
- In the preferred DNS Server type in 2606:4700:4700::1113
- In the alternate DNS Server type in 2606:4700:4700::1003
- Click on OK and again OK to close and save the network adapter settings.
If you are using multiple network adapters for your internet connection make the same changes in the other network adapter. After making these changes adult content will be blocked on your Windows system.
6 Block in Router
You can enable adult content block through your network. That means any device that contents to the internet using the router will automatically have adult content blocked. To achieve this you will need to change the DNS server settings inside your router. Every router has got a different interface for doing these changes. You will need to google search for your particular router model brand on how to change the DNS server. I will show below the google search and some router interfaces for changing the DNS server of the most popular router brands.
But before you can change the DNS setting you need to login to your router web portal. The web portal IP address for your router should be the same as your gateway IP address. Type the gateway IP address in the browser to open the router login page. If you have not changed your router login password then it will be the default login name and password. You can again google search for the default username and password for your router model and brand.
7 Block in Linksys Router
Go to google and type the search query “Change DNS Server Linksys [Model Number] router”.
For a generic Linksys router, you can change the DNS server by following these steps
- Under Router Settings, click on Connectivity.
- In Cocntivity open the Local Network Tab.
- In the Local Network Tab, in the DHCP Server section Type in Static DNS 1 1.1.1.3 and type in Static DNS 2 1.0.0.3.
- Then click on the apply button to save the DNS Settings.
8 Block in Asus Router

Go to google and type the search query “Change DNS Server Asus [Model Number] router”.
For a generic Asus router, you can change the DNS server by following these steps
- Under the Advanced Section click on the WAN subsection.
- In WAN DNS Settings select No for the setting “Connect to DNS server automatically”
- In DNS 1 type 1.1.1.3 and DNS 2 type 1.0.0.3 then click on Apply to save the settings.
9 Block in TP-Link Router
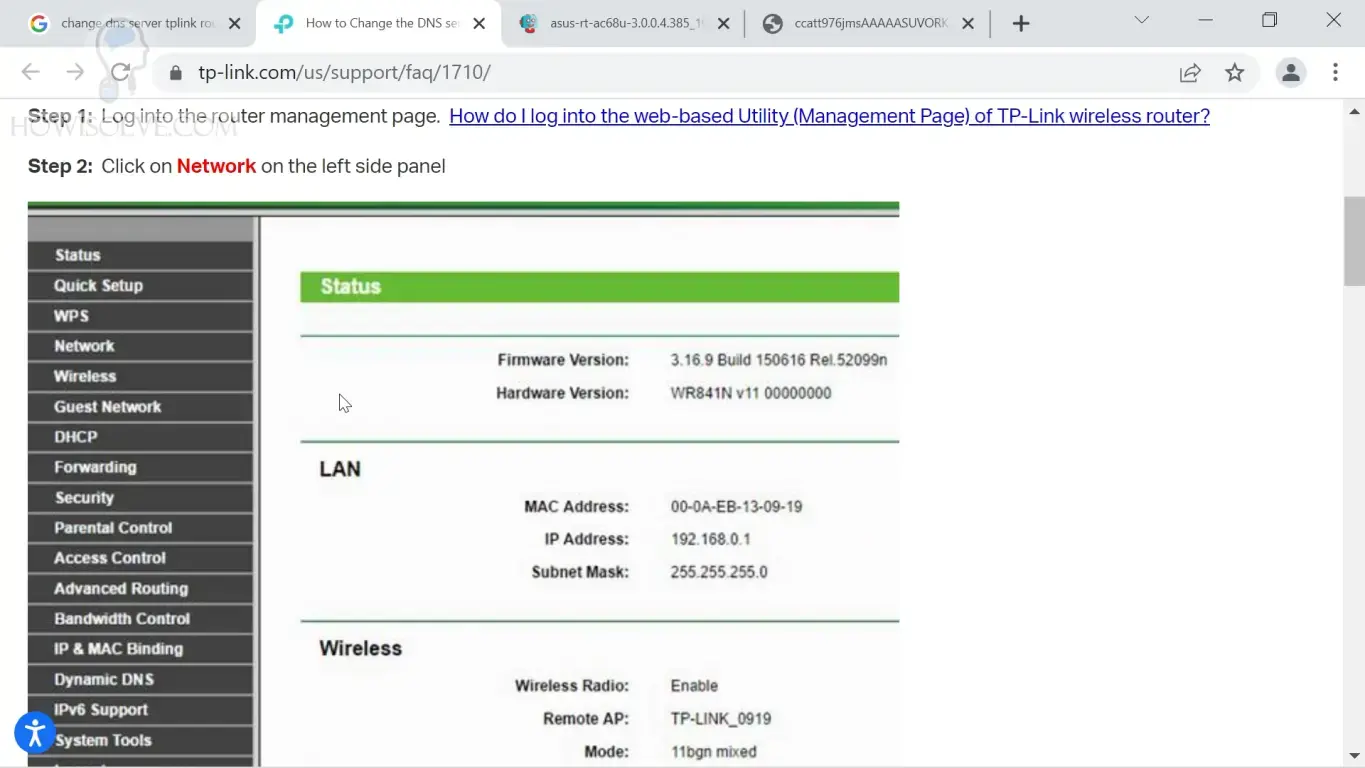
Go to google and type the search query “Change DNS Server TP-Link [Model Number] router”.
For a generic TP-Link router, you can change the DNS server by following these steps
- Open the Network Section and select WAN SubSection.
- Under WAN settings scroll down and check the checkbox “Use These DNS Servers”.
- In Primary DNS type 1.1.1.3 in Secondary DNS type 1.0.03 click on Save.
- Then open the system tools subsection and click on the reboot button to restart the router.
10 Block in JIO GIgaFiber Router
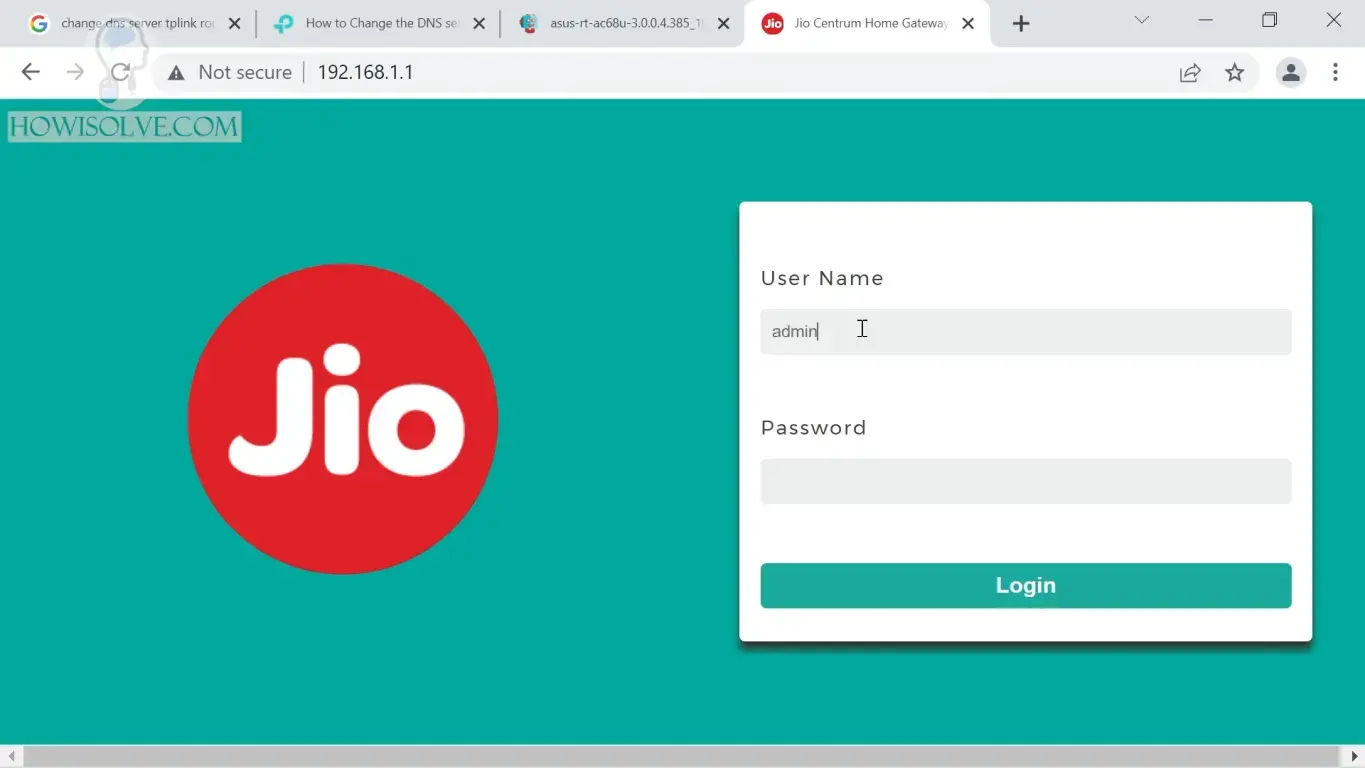
Now I will show you how I have changed the DNS Server in my JIO GigaFiber Router.
- Open the login page of JIO GigaFiber Router by typing the gateway IP address in the browser address bar.
- Login using the credentials default user is admin and default password Jiocentrum.
- On the home page on the left-hand side click on the plus icon next to the network section to expand it.
- Then click on the LAN on this page, in the LAN IPv4 Configuration Tab scroll down to the DHCP Setup section.
- Change the DNS servers drop-down from Use DNS Proxy to Use Below.
- In the Primary DNS Server type in 1.1.1.3 and on the secondary DNS Server Type in 1.0.0.3 then click on the Save button.
- Now open the LAN IPv6 Configuration Tab and scroll down to the DHCP Setup section.
- Change the DNS servers drop-down from Use DNS Proxy to Use Below.
- In the Primary DNS Server type in 2606:4700:4700::1113 and the secondary DNS Server Type in 2606:4700:4700::1003 then click on the Save button.
That is it now adult content block should be enabled on your entire network.
I Hope, friends you liked this detailed step-by-step guide to blocking adult content on all your devices. If you have some questions or are facing some issues. Post them down in the comment section will be glad to help you.
That’s all for today friends Subscribe to our YouTube channel to get more such videos in the future. Subscribe to our newsletters to get email alerts when we release new content. That is it for now friends, see you later bye.