by
by Hi friends in this video learn how to get back the original windows 10 right-click menu in windows 11 with just a single click. This fix requires adding a registry key in the windows registry. I have created a simple script file that will automate the process. This script will also restart windows explorer to apply the fix immediately.

▼Download @ Zip▼
Download the Old Right-Click Menu Script File.
▼Scan @ Video Index▼
- 00:00 Intro
- 00:43 Download Zip File
- 00:58 Extract Zip File
- 01:28 How It Works
- 02:00 Double Click Enable to Apply Fix
- 02:37 Revert by Double Clicking on Disable
- 02:59 Script Command Details
Extract Zip File
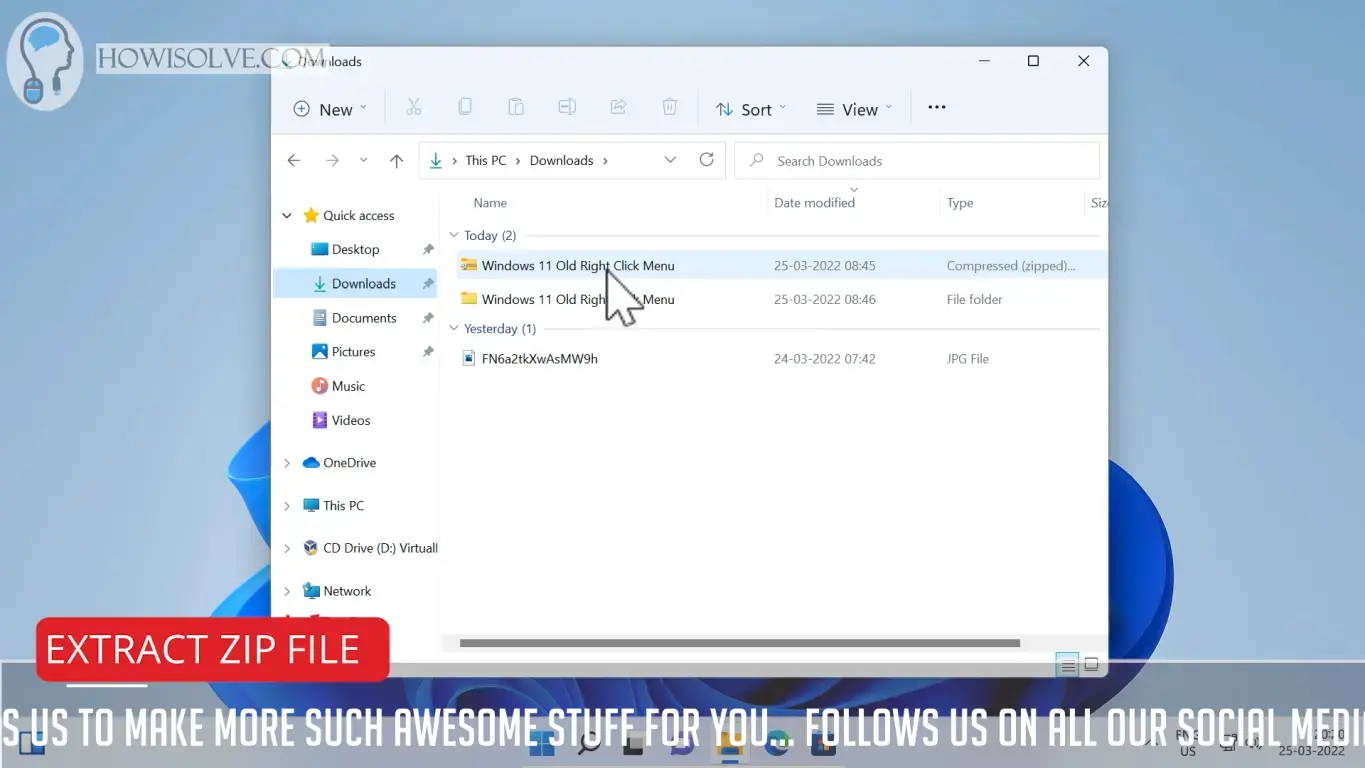
- Right Click On the Zip File
- Then click on Extract All…
- Check the Extraction Location and Click on Extract.
How It Works
Windows 10 Context Menu can be enabled by adding a registry key and then restarting the explorer. Make sure when you run the provided script file there is no operation happing in the background like file transfer etc. The script restarts the explorer to apply the settings. This means any explorer operation happening in the background will be interrupted.
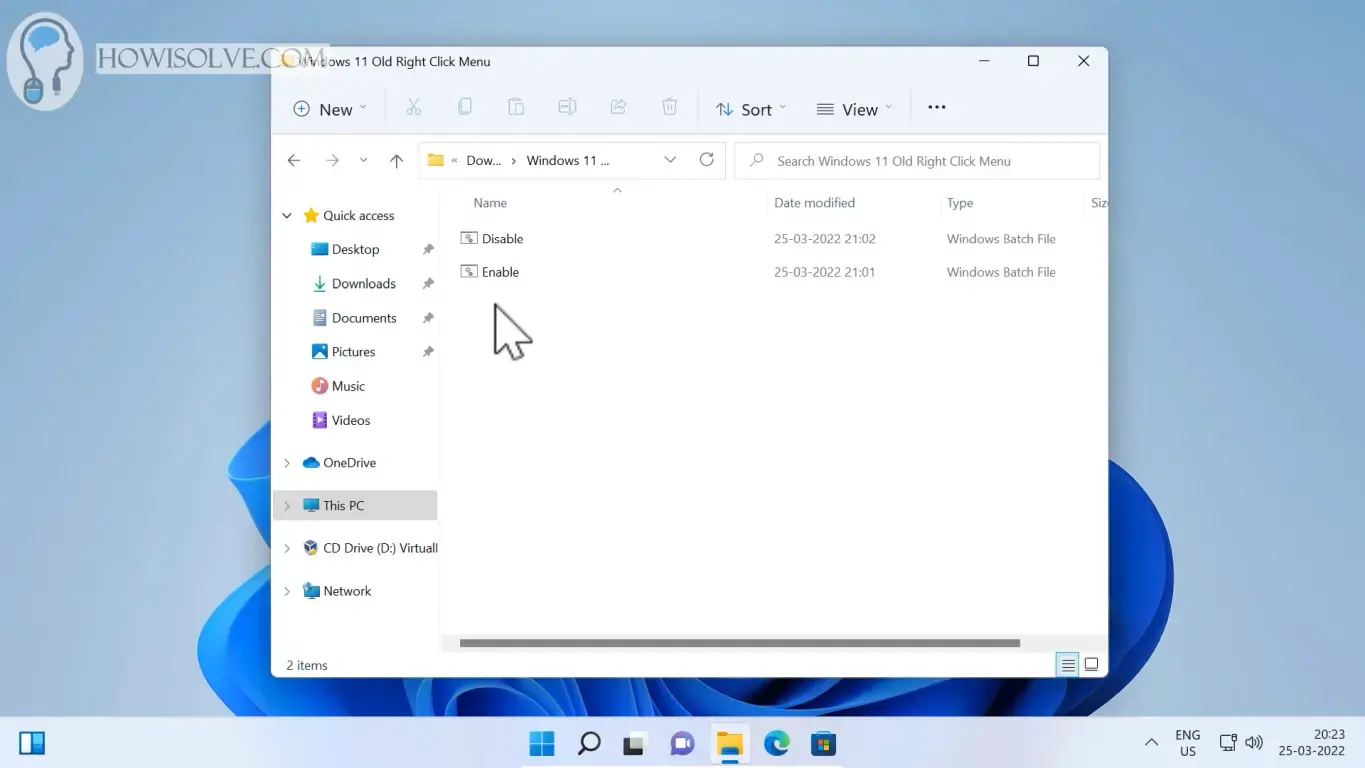
Double Click Enable to Apply Fix

- Go to the extracted file and Double Click on the Enable File to Run It.
- Explorer will close and then Restart
- Now Right Click on the Desktop the old windows 10 menu should appear.
Double Click Disable to Revert Back
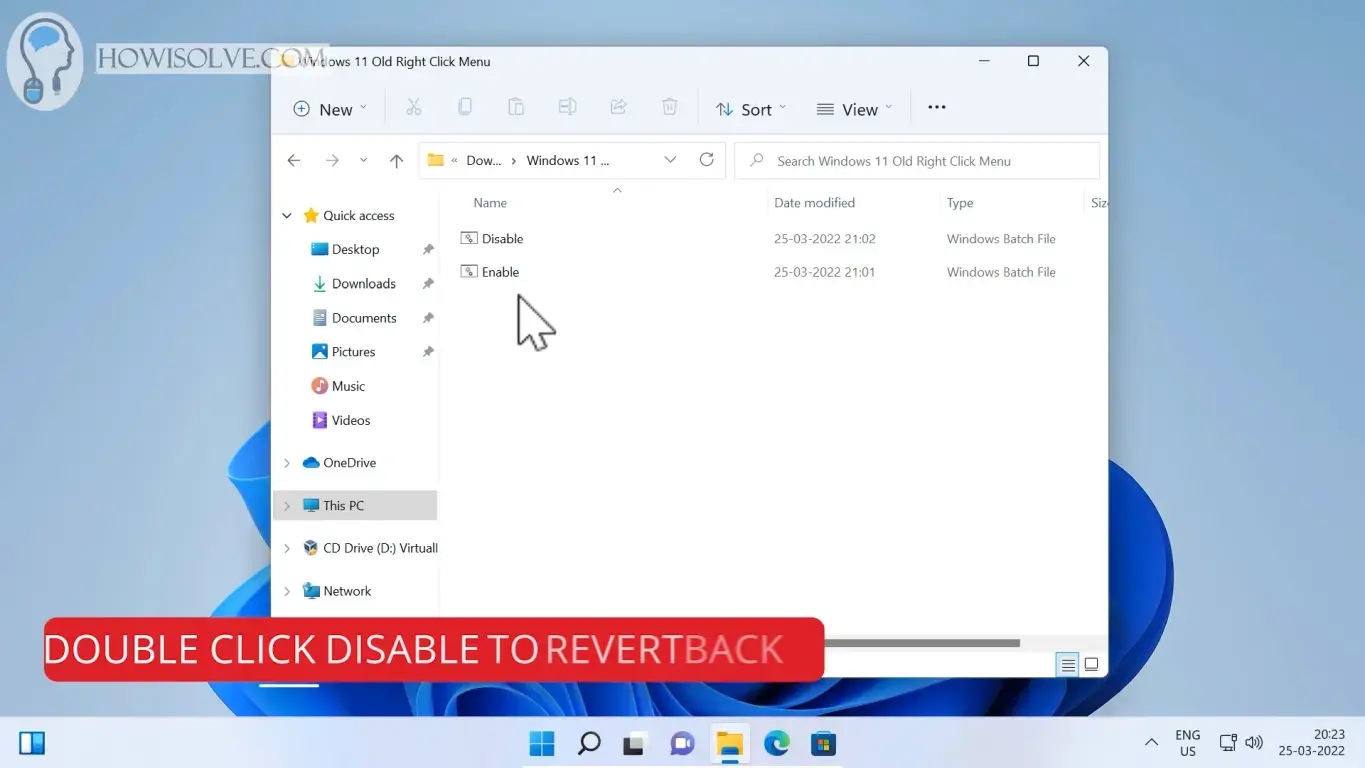
- Run Disable File by Double-Clicking it.
- Explore will close and restart.
- Now Right Click on Desktop the new windows 11 menu should come back.
Opening Script File in Notepad
- Right Click on Enable File
- Then click on Show More Options
- After That Click on Edit
- The script file will open in notepad
Enable.Bat Script Details
reg.exe add "HKCU\Software\Classes\CLSID\{86ca1aa0-34aa-4e8b-a509-50c905bae2a2}\InprocServer32" /f
taskkill /F /IM explorer.exe & start explorer
This script file contains just two commands. The first command adds the registry key which enables the Windows 10 right-click menu. The second command restarts the explorer so that the setting change is applied immediately.
Disable.Bat Script Details
reg.exe delete "HKCU\Software\Classes\CLSID\{86ca1aa0-34aa-4e8b-a509-50c905bae2a2}" /f
taskkill /F /IM explorer.exe & start explorer
This script file does the reverse. The first command deletes the registry key to revert to the original Windows 11 right-click menu. The second command restarts the explorer so that the setting change is applied immediately.
I Hope, friends you liked this detailed step-by-step guide on enabling the old Windows 10 context menu in Windows 11. If you have some questions or are facing some issues. Post them down in the comment section will be glad to help you.
That’s all for today friends Subscribe to our YouTube channel to get more such videos in the future. Subscribe to our newsletters to get email alerts when we release new content. That is it for now friends, see you later bye.