by
by 
Hi friends in this article I will show you step by step how to easily fix screen burn in Moto G4 Plus. I was facing this annoying problem of image retention in my dads less than a year old Moto G4 Plus phone. This caused icons from the previously opened apps to still be visible. I searched the web and found several other Moto G4 Plus users complaining about the same problem. I tried several solutions as mentioned on the Lenovo forum like reducing the screen brightness, reducing the screen on time, changing the wallpaper etc but nothing seemed to work. Then I thought that it might be a hardware issue with the OLED screen, and the only solution would be to replace it.
But then on Lenovo forum, I found several people who were complaining about same problem recurring back after 15 – 20 days even after screen replacement. Then finally I found a post by a user which mentioned that the issue is caused by a software bug in the Moto’s color calibration and to permanently solve this you will have to root the phone and tweak your android kernel. But I found there is an even easier solution which does this without rooting your phone.
So let get started:-
Step 1. Download the app
- Open this link https://www.appsapk.com/screen-adjuster/ in your phone to Download the Screen Adjuster Free app.
This is an older version of the app which was freely available in the play store. For some reason, the app is no longer available on play store.
Step 2. Enable apps from unknown sources
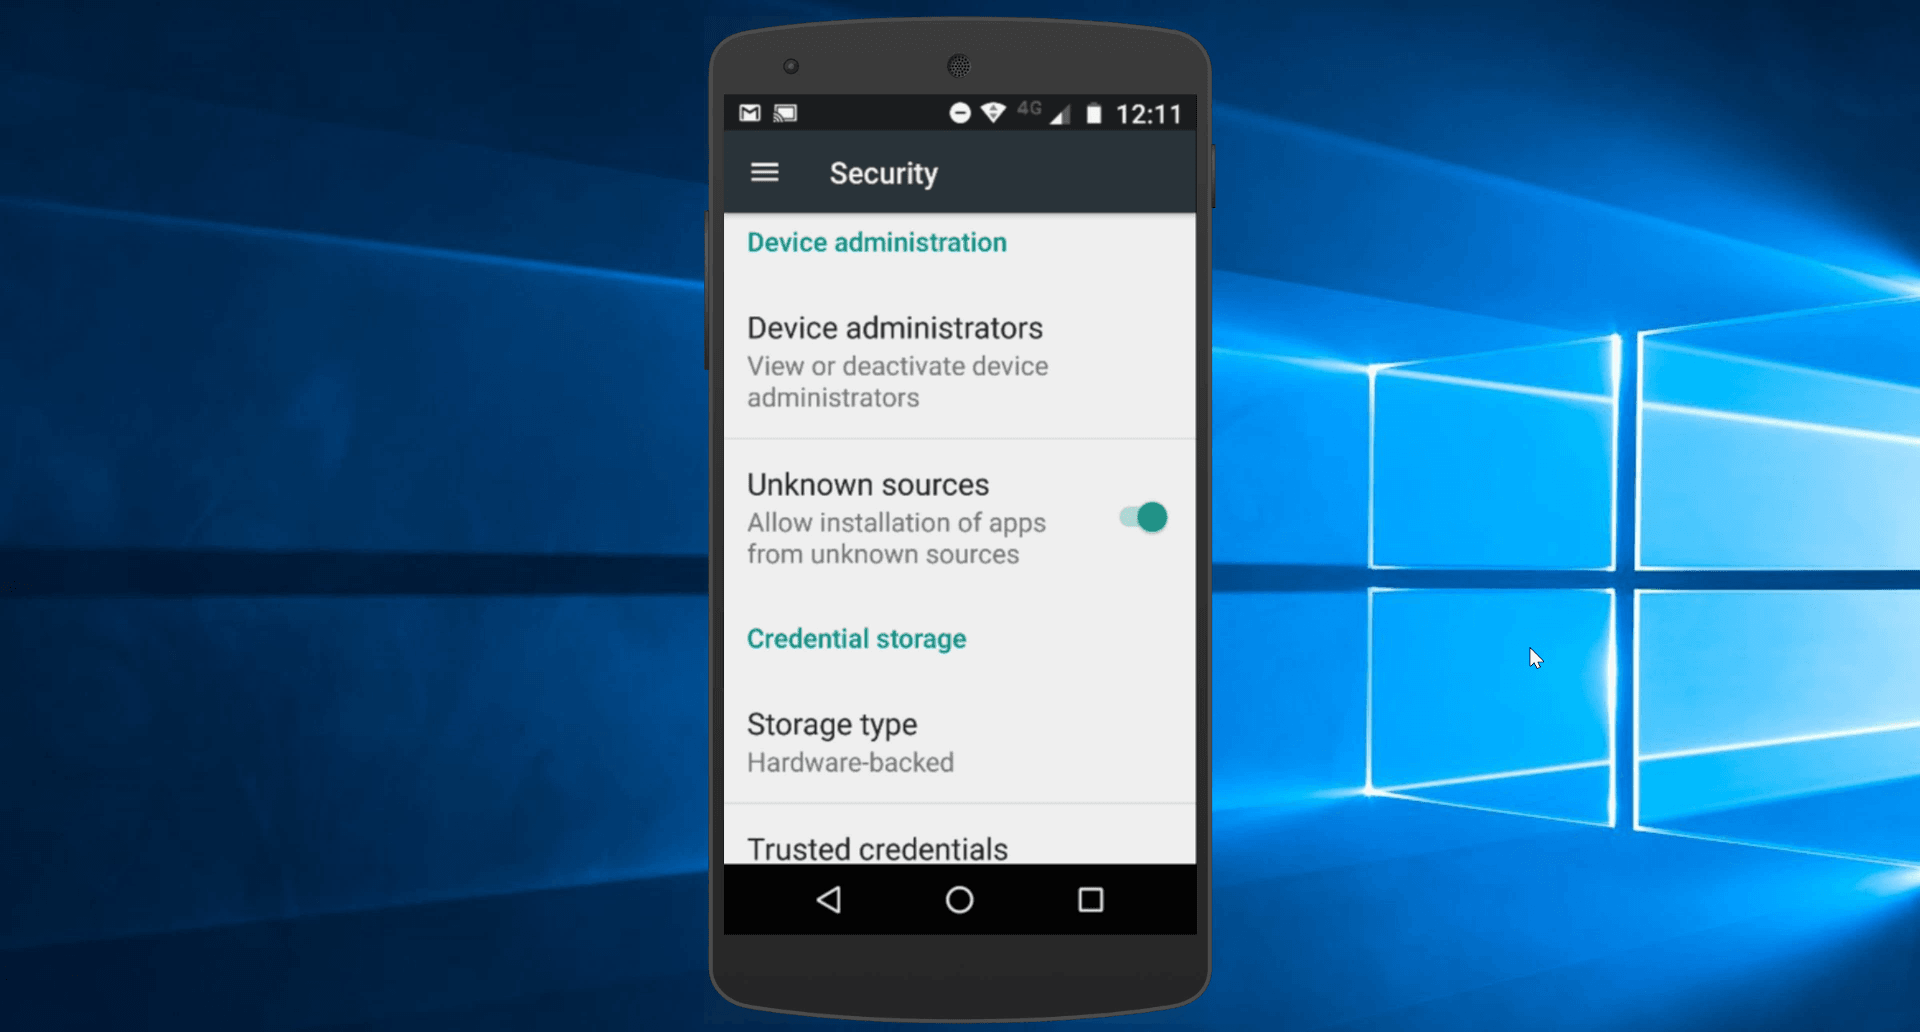
To install the app you will have to enable apps from unknown sources.
- Swipe down and tap on the gear icon to open settings
- Scroll down to Security and Tap on it
- Inside Security scroll down to find the option of Unknown sources toggle this option on.
Step 3. Install Screen Adjuster APK
- Go to the location where you downloaded the APK file
- Tap on the APK to open the installation wizard grant it with the appropriate permissions and tap on install.
Step 4. Setting up the App
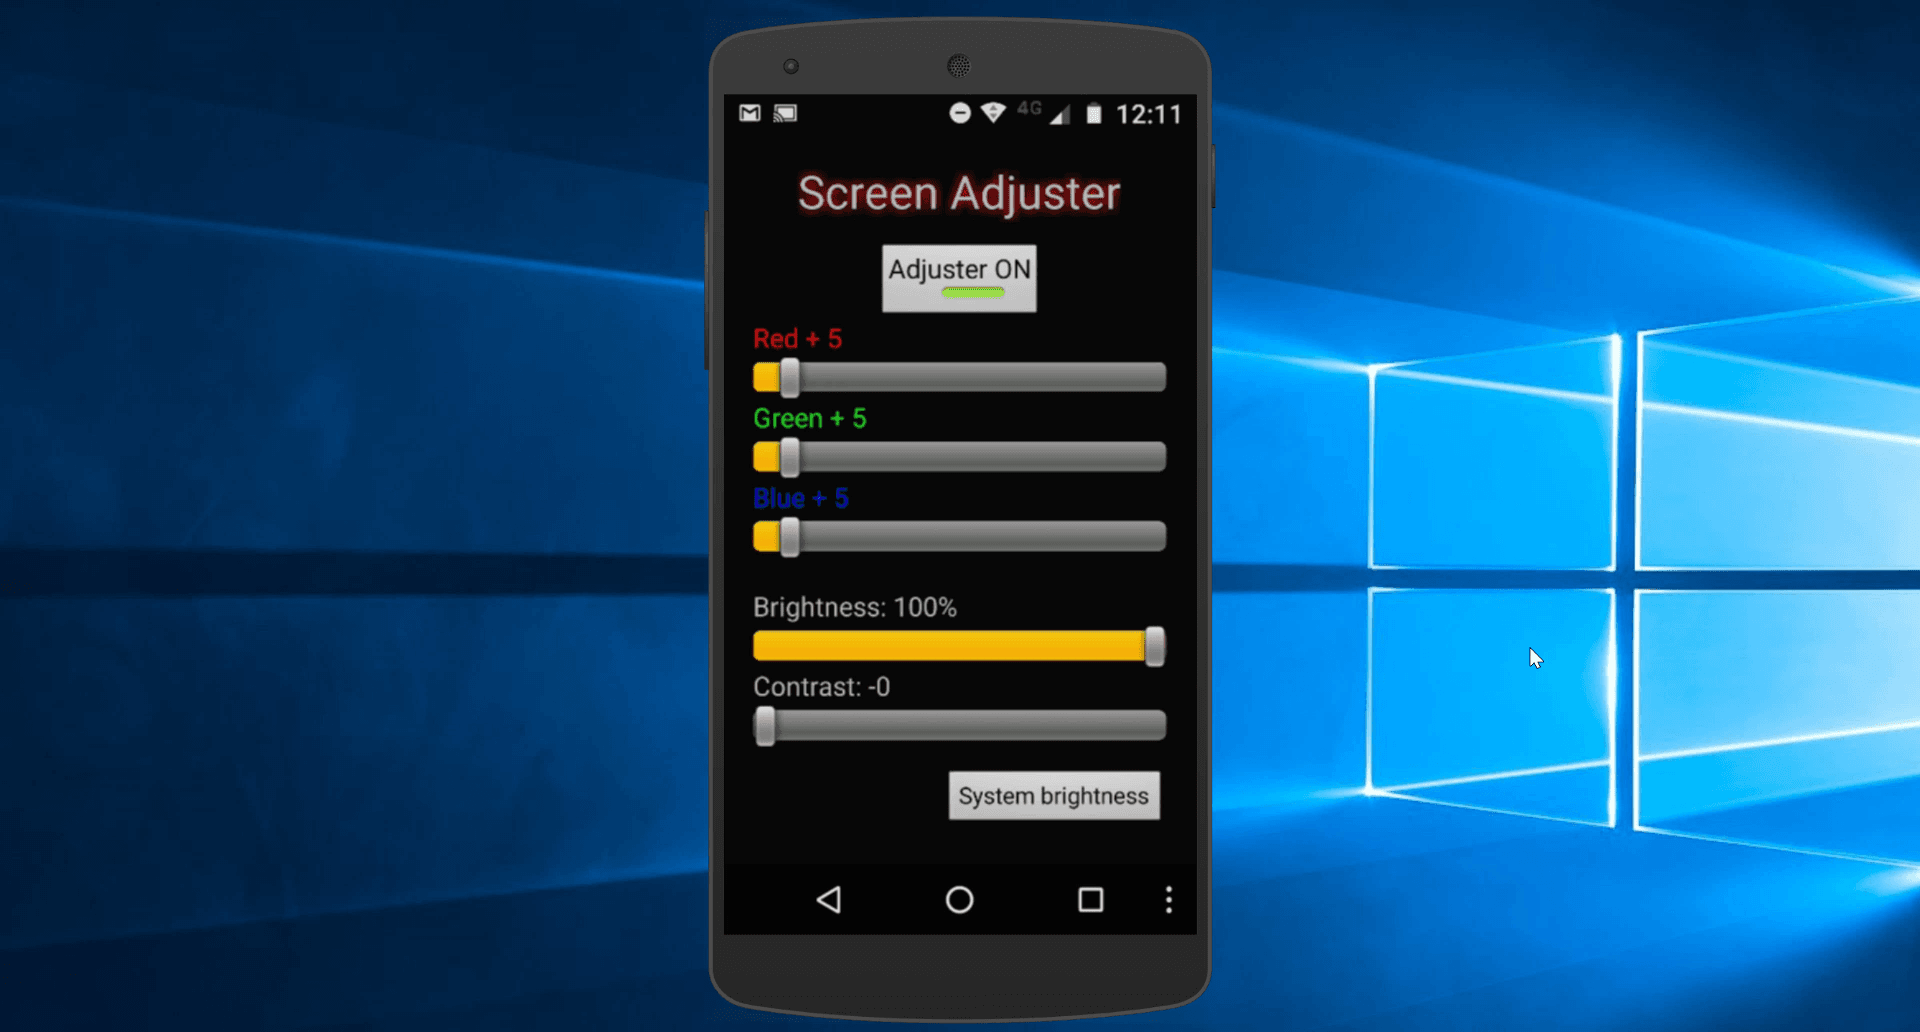
Once you have installed it open the app.
- Scroll the Red setting to +5 similarly Green to +5 and Blue to +5.
- Keep the brightness to 100% and contrast to 0.
- Now click on the three dots icon shown at the bottom right corner.
- Tap on the options button to open the options screen.
- Make sure to turn on both the options by checking on Autorun and hide status bar icon options.
- Now go back and tap on the Adjuster on the button.
Step 5. Keep the App running in the Background
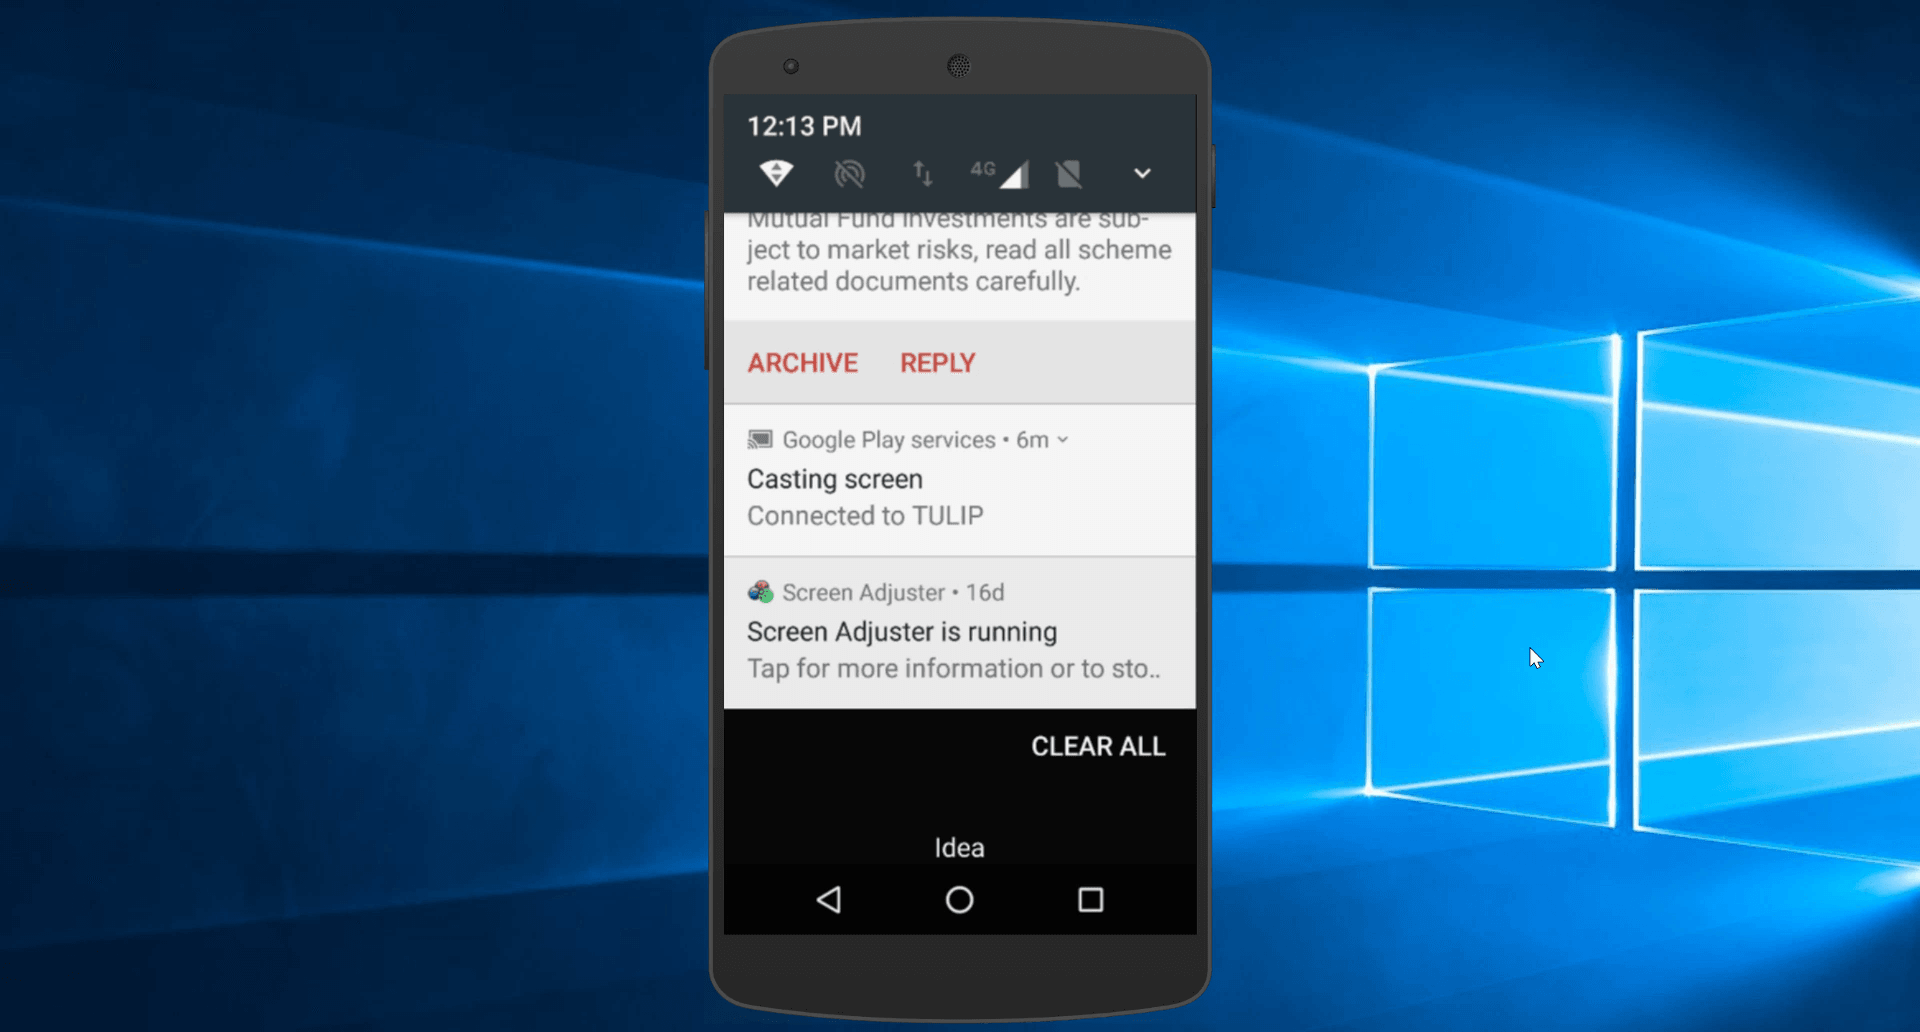
You will have to ensure this app is always running in the background so that it keeps the color calibration properly.
You will have this notification on your phone make sure that you do not disable this app’s notification or else the app would no longer be able to run in the background
With that, your screen burn should get fixed in 15-20 minutes
I hope you liked this article and it helped you solve your problem. Share this article with your friends and family members whom you think could benefit from this. If you have an alternate solution or if you are facing problem following this guide. Post in your queries in the comment section below or use our community forums.
At howisolve.com we provide you the with the latest updates on technology, tutorials, tips and tricks, troubleshooting guides and much more. Subscribe to our newsletters to get regular updates straight to your inbox. Thanks for reading friends see you later bye.