by
by In this article, you will learn how you can download a Windows 7 ISO file from the official Microsoft servers. Using the iso file we will create a windows 7 installation USB drive and install windows 7 onto a hard disk.

▼Download @ Links▼
▼Scan @ Video Index▼
- 0:00 Intro
- 0:11 Requirements
- 0:59 Disadvantages of Using Windows 7 2022
- 1:57 Alternative OS for Old Computers
-
2:40 Steps
- 2:43 Download Rufus
- 3:15 Connect USB Drive to Computer
- 3:30 Start Rufus
- 4:10 Enable Rufus Online Update Check
- 4:56 Restart Rufus
- 5:05 Enable Rufus ISO Download Mode
- 5:38 Troubleshoot Rufus Download ISO Not Showing
- 6:33 Download Windows 7 ISO File
- 8:45 Create Windows 7 Bootable Pendrive
- 11:22 Connect Pen Drive To Computer for Windows 7 Installation
- 11:31 Find the Boot Key For Your Computer
- 13:14 Turn on the Computer
- 13:46 Press the Boot Key Repeatedly
- 13:53 Select the Pendrive in Boot Menu
- 14:57 Install Windows 7 on HardDisk
- 15:53 Format the Harddisk for Windows 7 Installation
- 17:22 Computer will Restart Multiple Times
- 17:48 Configure Windows 7 Installation
- 19:25 Outro
1. Requirements
1.1 8GB or Bigger Pen Drive
To create a bootable Windows 7 installation USB drive you will need a pen drive that is at least 8GB in size.
1.2 Rufus Tool
Apart from a flash drive, you’ll also need a tool known as Rufus. Using the Rufus tool we will be downloading the ISO file for Windows 7 directly from the Microsoft server. The link to download Windows 7 iso file is not easily accessible from the Microsoft site because windows 7 is no longer supported. This tool will also then help us in creating the bootable installation USB medium for windows 7. You can download the latest release of Rufus over here https://github.com/pbatard/rufus/releases
1.3 Windows 10/11 System
You will also need a Windows system which can be Windows 10 or 11 OS. On this system, we will run the Rufus to download the ISO file and create the bootable flash drive.
2. Disadvantages of Using Windows 7 2022
There are several disadvantages of installing Windows 7 in 2022.
2.1 Security Issue
The number one disadvantage is that Microsoft no longer provides security updates for windows 7. This means your computer will be vulnerable to cyber attacks, using viruses and malware.
2.2 Hardware Compatibility Issue
Apart from that, you’ll also face compatibility problems with new hardware. Since newer hardware is no longer providing drivers for Windows 7.
2.3 Software Compatibility Issue
Not only on the hardware front, but windows 7 is also losing support from new software. Various software providers are dropping support for Windows 7. For example, the Google Chrome browser is going to drop support for Windows 7 in 2023 January. These are the main drawbacks of installing Windows 7 in 2022.
3. Alternative OS for Old Computers
If you have got an old low-powered system, there are other alternatives apart from Windows. You can install Linux based system. These Linux-based systems nowadays also have a cloud-based version. Like the Google’s Chrome OS Flex. I’ve got a dedicated video of how you can install Chrome OS Flex.
4. Steps
Let’s go to the computer and let’s start the process step by step. How you can install Windows 7 in 2022. Let’s get started.
4.1 Download Rufus
- The first step is to download Rufus.
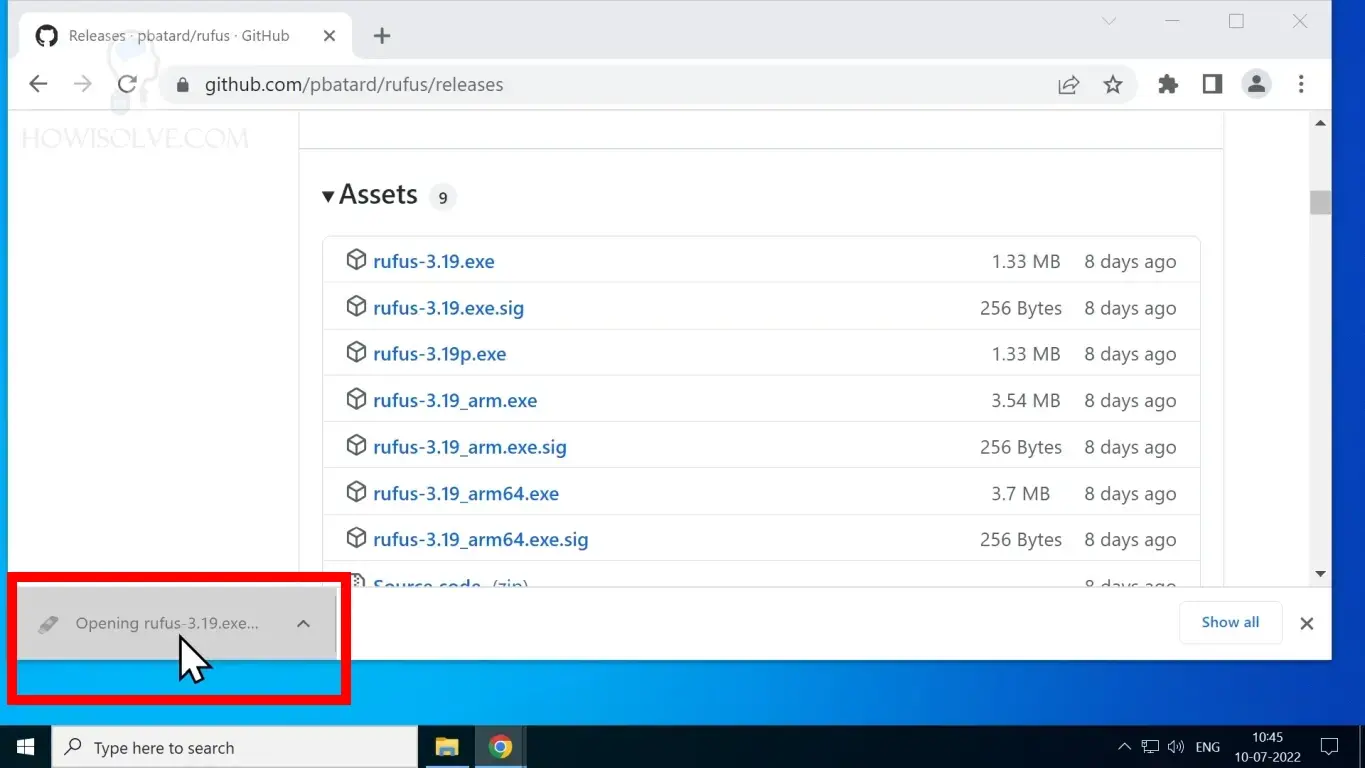
- Download the latest release of Rufus from here https://github.com/pbatard/rufus/releases.
- Download the non-arm exe file from the page.
4.2 Start Rufus and Enable Rufus Online Update Check
Rufus uses the Online Update Check permission to enable or disable the ISO download feature. So to enable Rufus to download the Windows 7 ISO file. You need to allow it to check for online updates.
- Now open the downloaded Rufus .exe file by clicking on it.
- It will ask for administrative privileges, grant it by clicking on yes.
- If this is the first time you have launched Rufus you will see a pop-up message asking you to enable an online update check.
- Make sure to enable the update check by clicking on the yes button.
- If you do not see the popup message or if you accidentally clicked on No then we need to enable it from the settings.
- Click on the settings icon at the bottom left corner of the Rufus tool.
- This will open up the “update policy and settings” window.
- In this window ensure that the check for updates settings is not disabled.
- If it is showing as disabled change the value from the drop-down to daily / weekly or monthly. Anything other than disabled.
4.3 Restart Rufus to enable ISO downloading option
- After allowing the online update check close the Rufus application and restart it.
- When the application restarts you will see the ISO downloading option.
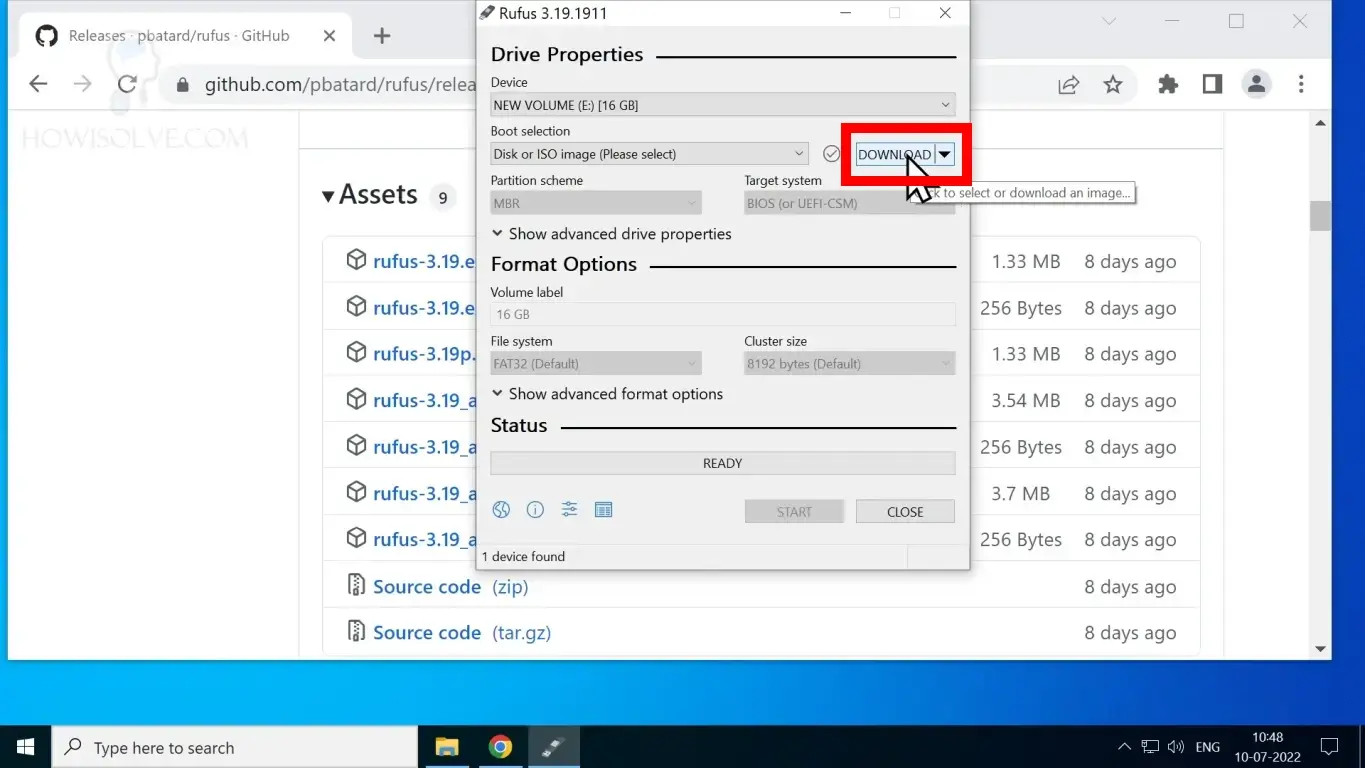
4.4 Enable Rufus ISO Download Mode
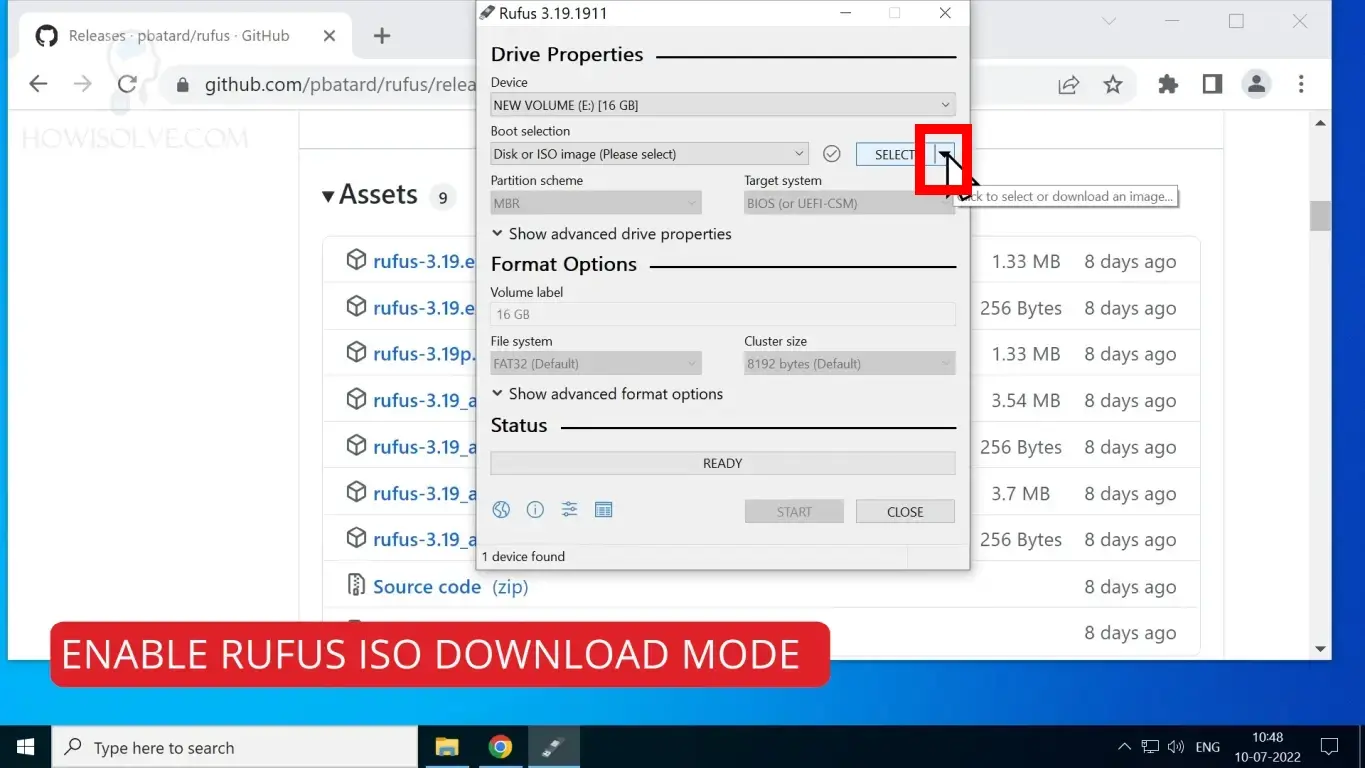
- So once you have got the update check enabled.
- In the Drive Properties next to the Boot selection dropdown list you will see a Select button.
- Click on the arrow at the corner of the Select button to reveal a drop-down list.
- In the drop-down list click on the Download option.
- This will enable the Rufus ISO download mode.
4.5 Troubleshoot Rufus Download ISO Not Showing
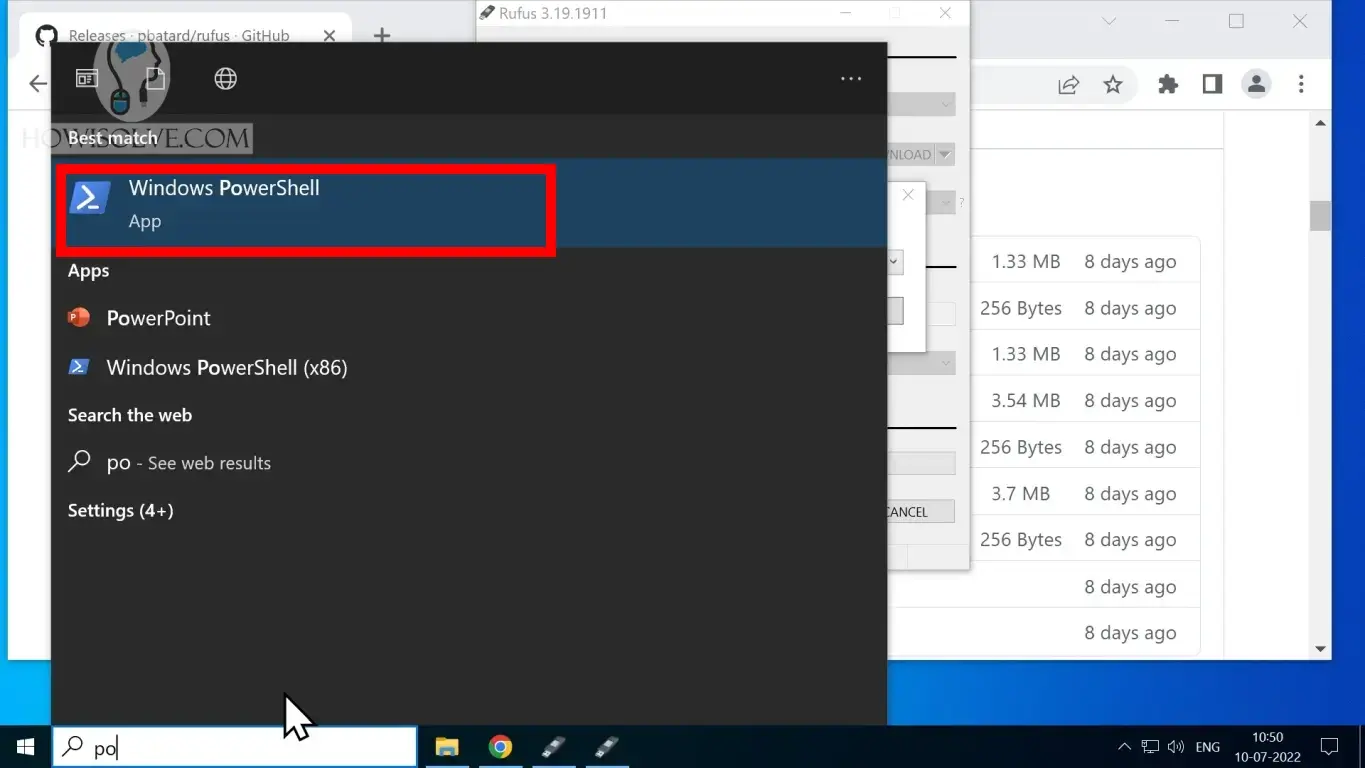
The Rufus ISO download feature uses Windows PowerShell to get the ISO files. If Windows PowerShell is not working in your system this download window will not be visible. This was a problem I faced personally while testing out Rufus.
- To check Windows PowerShell is working fine.
- Go to search and type PowerShell and click on Windows PowerShell.
- You should see the Blue PowerShell window launch to command prompt.
- If you can not see the PowerShell windows or it opens and closes.
- You can try fixing it by Updating Windows or you can check our guide on fixing Windows corruptions.
4.6 Download Windows 7 ISO File
To download the windows 7 iso file using Rufus
- Click on the Download button this will load the ISO Download Script.
- Once the script is loaded you will see a dropdown menu to select the Windows version.
- Select Windows 7 from the Version Drop Down and click Continue.
- Then releases drop-down will be shown the default value is fine and click Continue.
- Now in the Edition dropdown, you can select the windows 7 edition you want I have selected Ultimate After that Click Continue.
- In the Language drop-down, only English is available so click on continue.
- Next Select the architecture of Windows 7 x86(32 bit) or x64(64 bit) I have selected x64.
- Check the checkbox download in the browser and then click on the Download button.
- This should start the Windows 7 ISO file download in your default web browser in my case it is google chrome.
- If you check the download details the file size is around 5.5 GB the download location is from the Microsoft server.
- So the copy of the Windows 7 that you receive is the official, unaltered version of Windows 7 directly from Microsoft.
4.7 Connect USB Drive to Computer
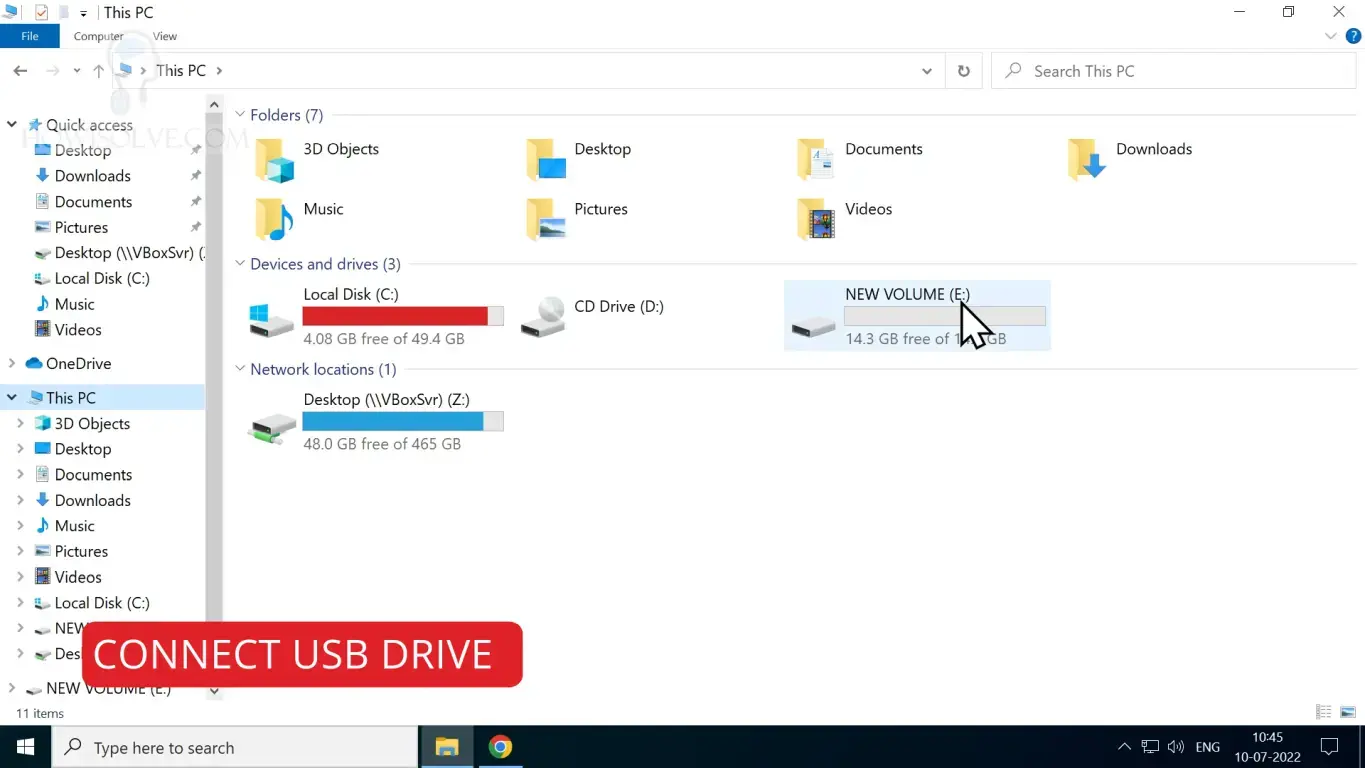
Till the time the ISO file is getting downloaded let’s connect the pen drive which you will be using to install Windows 7.
- As mentioned before connect the USB pen drive which is 8 GB or large.
- Once connected open This PC and take a note of the drive letter of the pen drive.
- If you have some important files present in the drive take a backup of all the data as it will be formatted.
- Now go back to Rufus and select the pen drive listed in the device dropdown list.
4.9 Create Windows 7 Bootable Pen Drive
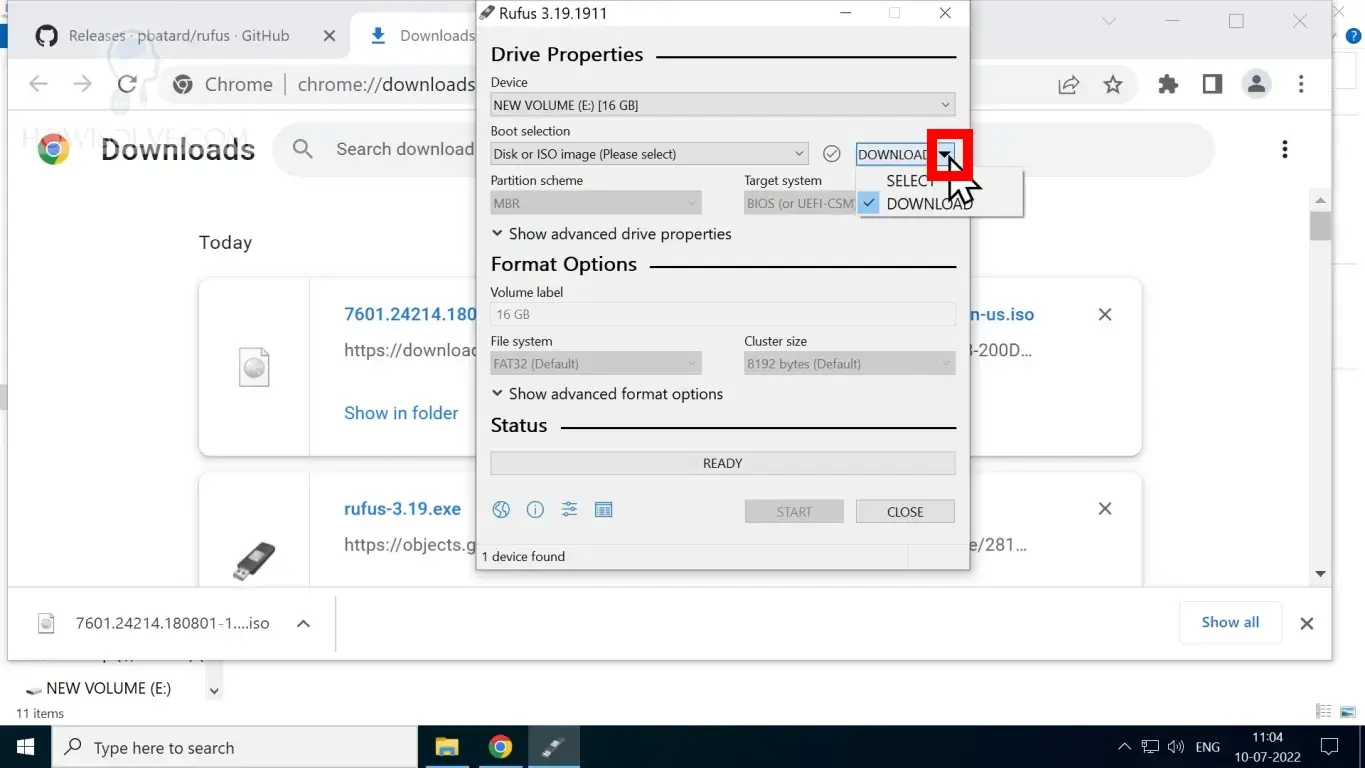
Once the ISO file is downloaded let’s go back to Rufus and create the Windows 7 Installation USB drive from the downloaded ISO file.
- First, we will change Rufus to boot drive creation mode from the ISO download mode.
- To do that click on the arrow next to the download button.
- This will show a drop-down list select the “SELECT” option then click on the SELECT button.
- You will now need to provide the Windows 7 ISO file that we just now downloaded.
- Go to the download location and select the ISO file.
- Change the partition scheme from GPT to MBR if installing windows 7 in a 10+ years old system. Otherwise, keep the default values.
- You can change the volume label for your bootable Windows 7 USB drive.
- For all other settings keep the default values.
- Double check the drive letter shown in the Rufus device section It should match with your pen drive.
- Once sure click on the start button. You will see a warning prompt asking for confirmation of the drive click on OK if it matches your pen drive.
- It should take 15-30 min for creating the bootable windows 7 installation USB drive.
- Once the process finishes you can see the windows installation files copied into the pen drive.
4.11 Find the Boot Key For Your Computer
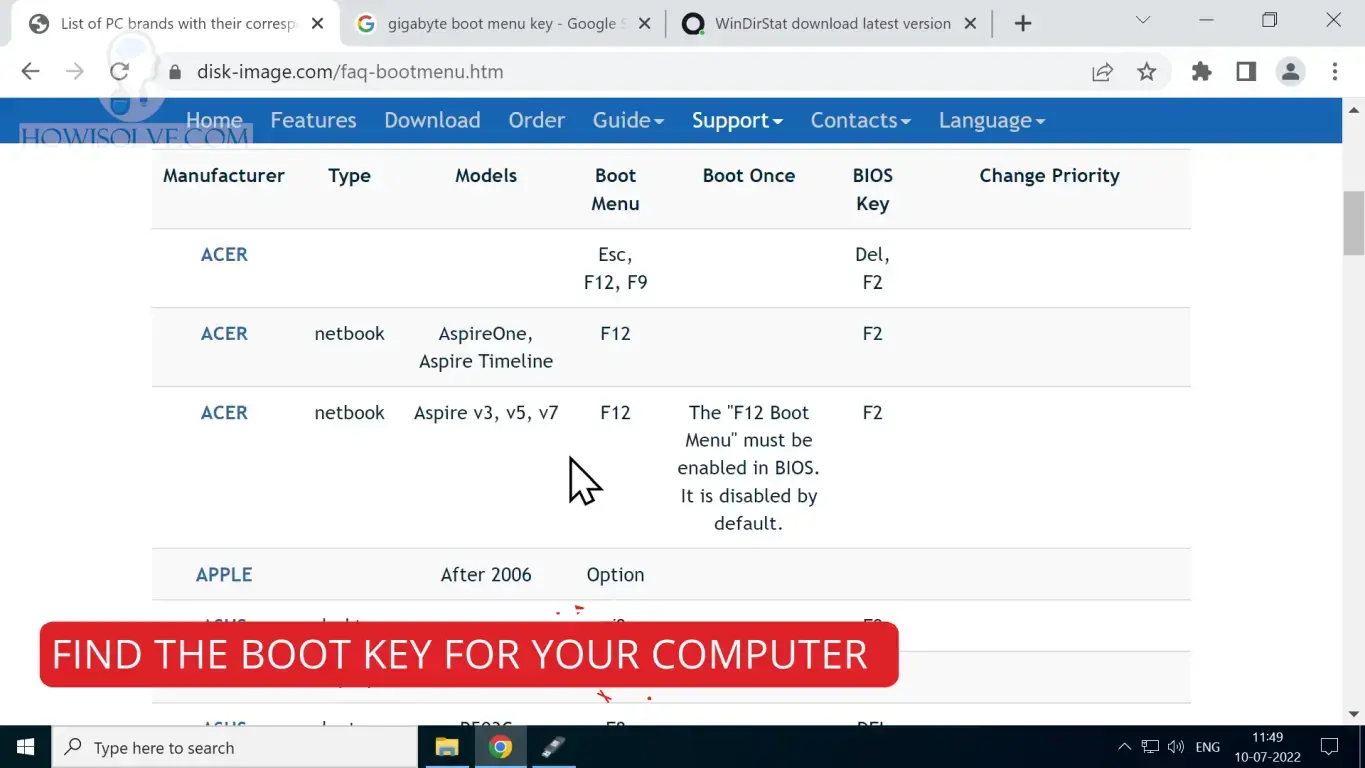
Now we have the installation USB drive ready. But before we start the installation process you need to know how to boot using a pen drive. To boot using your pen drive you need to know the boot key for your system. The boot key varies from one system to another. On a desktop, the boot key changes based on your motherboard model. For a laptop, you need to search using your laptop brand and model number.
- To find the boot key for your laptop google “laptop brand model number boot menu key“.
- For example, for DELL XPS 15 the google search query will be “dell XPS 15 boot menu key”.
- For a desktop system google search “Motherboard Brand and Model Number boot menu key“.
- For example, for my system, the google search query will be “MSI B450 Tomahawk boot menu key“.
4.12 Boot Windows 7 Installation Pen Drive
Once you know the boot key of the system on which you want to install windows 7.
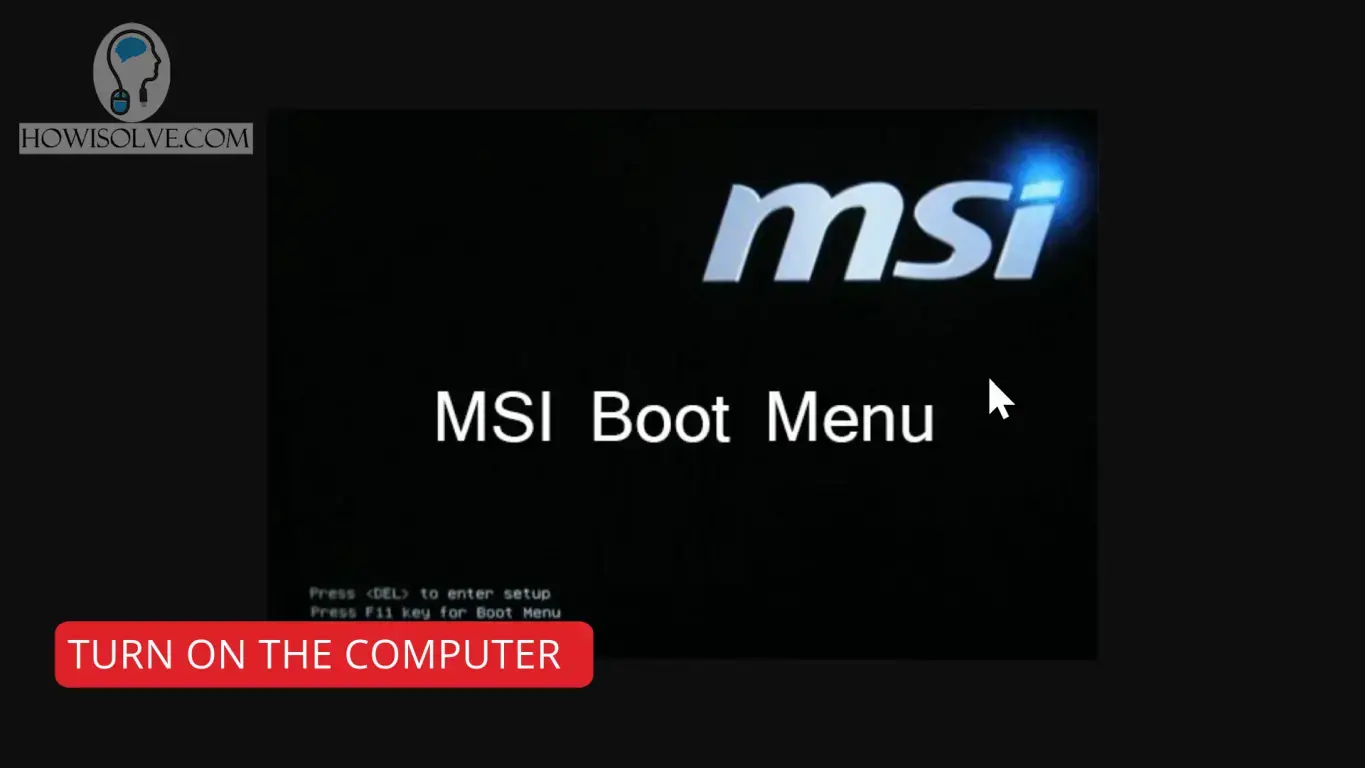
- Connect the pen drive to it and turn on the computer.
- As soon as you see the logo on the screen start pressing the boot key repeatedly.
- You should also see the boot key mentioned in the logo screen in the bottom or top corners.
- You should now see a boot menu listing all the drives connected to your computer.
- Select the pen drive from this list using the arrow keys and hit enter.
- This will boot your computer using the Windows 7 installation USB drive.
4.15 Install Windows 7 on Hard Disk

Okay, now we will format the hard disk and start the installation of windows 7.
- In the select language screen, keep the defaults and click on Next.
- In the Install Windows screen Click on Install.
- Accept the license agreement checkbox and click on Next.
- If you want to do a fresh install that is a full hard disk erase then click on Custom Installation.
- If you already have a Windows 7 system and want to reinstall it, then click on the Upgrade.
- I will show you the steps for a fresh windows 7 installation.
- Select the drive you want windows to be installed on.
- Since mine is an unformatted hard disk I will need to first format it.
- To format, click on driver options (advanced) then click on New.
- To allocate the entire hard disk space to the new partition so keep the default values and click on Apply.
- Allow it to create an extra partition for window installation by clicking the OK dialog popup.
- You will see it created two partitions select the bigger one and click on Next.
- It will start copying the Windows installation files on the hard disk.
- It will then restart and boot from the hard disk and continue the installation process.
- Your computer might restart multiple times do not worry this is normal.
4.18 Configure Windows 7 Installation
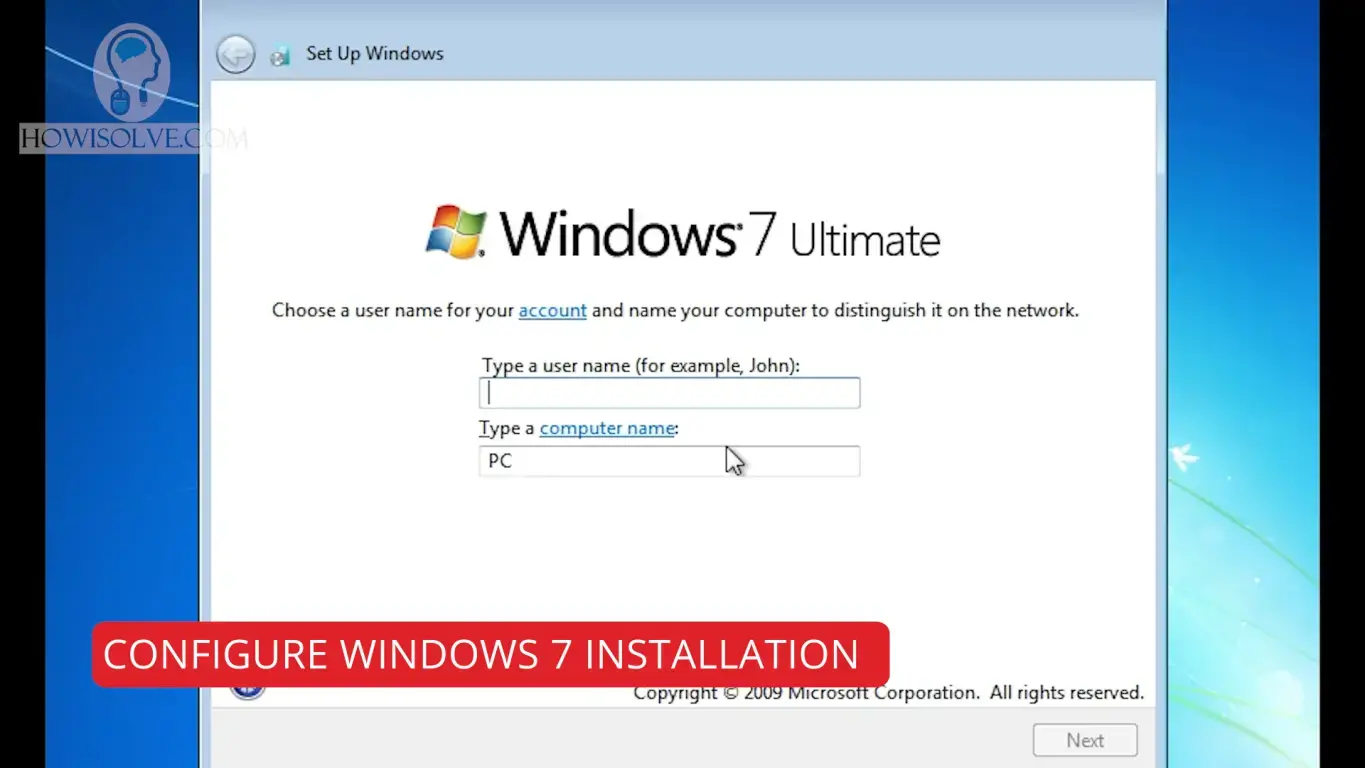
Once windows setup finishes it will ask for some configuration settings for the first run so now let’s configure windows 7.
- Type the username for the windows 7 account and then click Next.
- Type the password for the username you can leave it blank if you do not want to add a password then click Next.
- Next, it will ask for the product key if you have a windows 7 product key you can enter it over here or you can click on Skip.
- If you skip the activation after 30 days some windows 7 features will not work but the system will be usable.
- Then it will ask for automatic security updates you can disable it by clicking Ask Me Later.
- Since Microsoft no longer supports Windows 7 you will not get security updates.
- Next, select your time zone from the drop-down menu and set the date and time then click Next.
- If you are connected to the internet it will ask you to set the network type you click on Home Network.
I hope friends you liked this article and were able to install Windows 7 on your computer. If yes share this blog with your friends and family. And don’t forget to subscribe to my YouTube channel. We have got several more technology, videos, tips, and trick videos coming shortly, so you join our mailing list to get notified as soon a new article is released. Thanks for reading friend, this is Neil signing off. Bye bye.