by
by In this video, I will show you how to set up Kali Linux in a virtual machine using VirtualBox. Setting up Kali Linux in a virtual machine is easy. You can use a pre-installed disk image to import Kali Linux into VirtualBox. This skips the process of installation saving a lot of time and effort.

▼Download @ Links▼
Download Kali Linux Virtual Machine
▼Watch @ Related Video▼
▼Scan @ Video Index▼
- 00:00 Intro
- 00:48 Download Virtualbox
- 01:40 Download Kali Linux VM Image
- 02:52 Enable Virtualization
- 03:19 Install Virtualbox
- 04:33 Create Kali Linux VM
- 06:38 Install Virtualbox Extension Pack
- 07:23 Start Kali Linux VM
1. Download Virtualbox
Click here to open the virtual box download page. Depending upon your host system download the required VirtualBox installation file. VirtualBox can be installed on Windows, Mac, and Linux. To add USB support to virtual machines download the VirtualBox extension pack also listed on the same page.
2. Download Kali Linux VM Image
Kali Linux provides preinstalled virtual machine disk images for both VMware and VirtualBox. Download the VirtualBox disk image file from this page. The file size of the VirtualBox disk image is quite large. If you do not have a fast internet connection consider downloading using a torrent file. Direct download might take a long time and if it gets interrupted it will start again from the beginning.
3. Enable Virtualization
Most modern computer system supports virtualization. But it is disabled by default in most computers in the BIOS settings. To run VirtualBox on your system you will need to enable the virtualization. If you are not aware of how to do that no worries. We have a dedicated guide showing you step-by-step. How you can enable virtualization on your computer.
4. Install Virtualbox
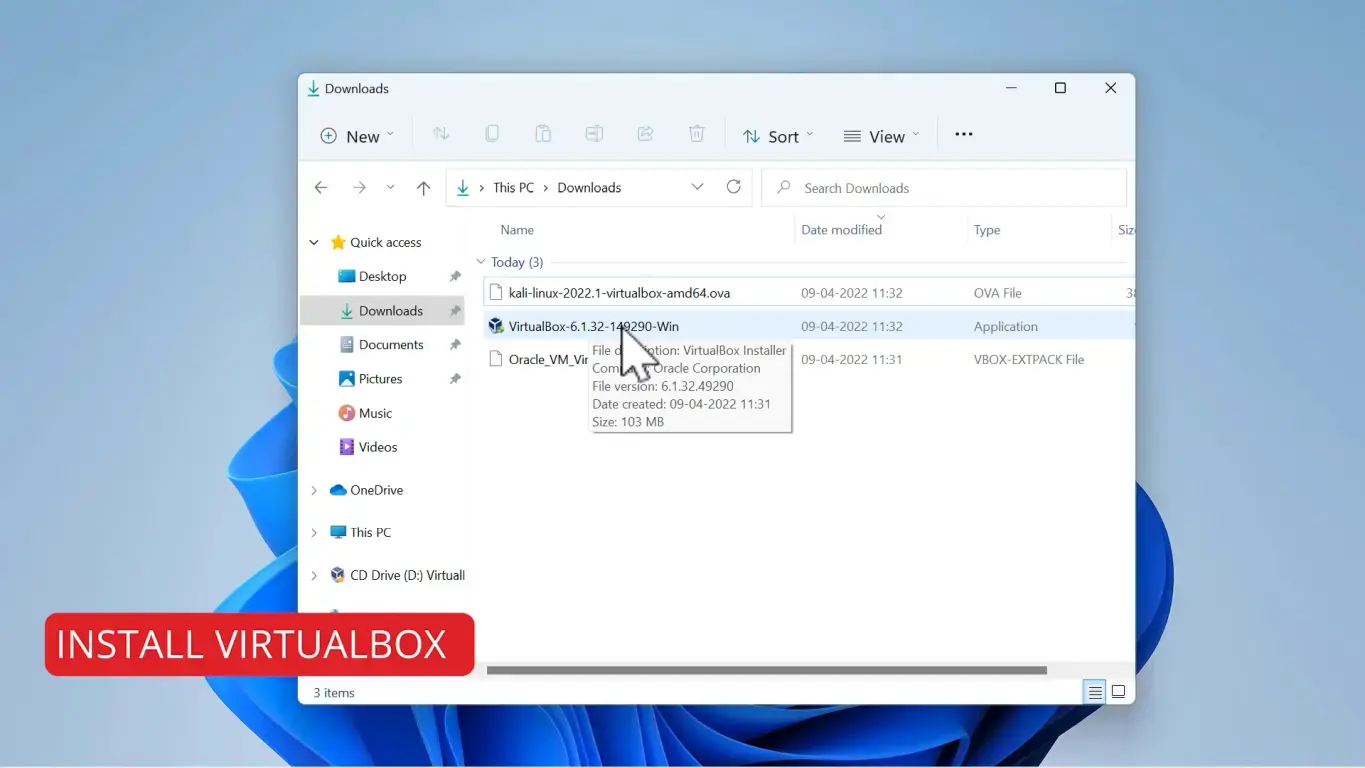
Installing VirtualBox is very simple. Double click on the downloaded VirtualBox setup file to start the installation. You will need to provide administrative privileges for installation. Go through the installation wizard with the default values. Once the setup has finished it will launch VirtualBox.
5. Install Virtualbox Extension Pack
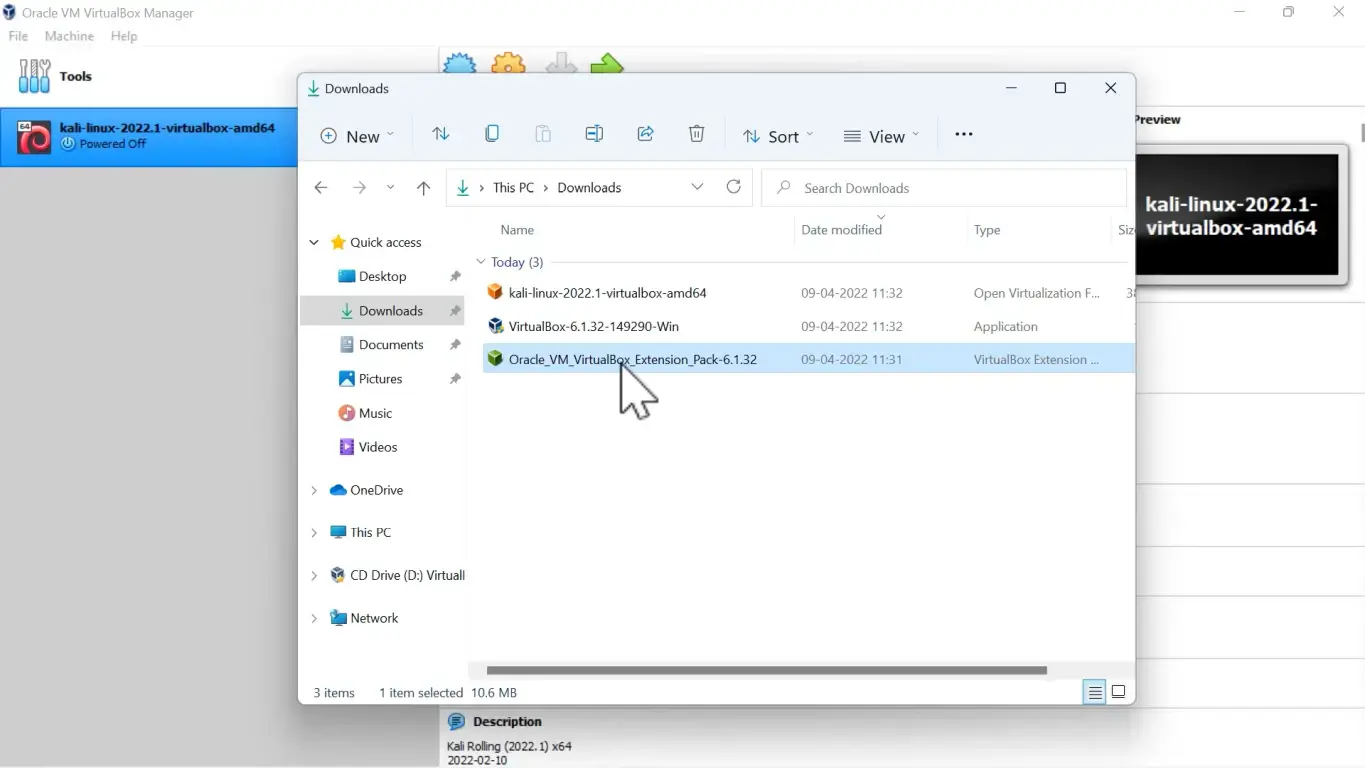
Make sure that the version of the extension pack matches the version of VirtualBox. Installing different versions will cause the virtual machines to stop working.
- Go to the location where you have downloaded the VirtualBox extension pack.
- Double click it to open and click on Install.
- Scroll down through the licensing agreement and then click on I agree.
- Grant administrative privileges to start the installation.
- On completion, you will see a confirmation message stating the installation was completed successfully.
6. Create Kali Linux VM
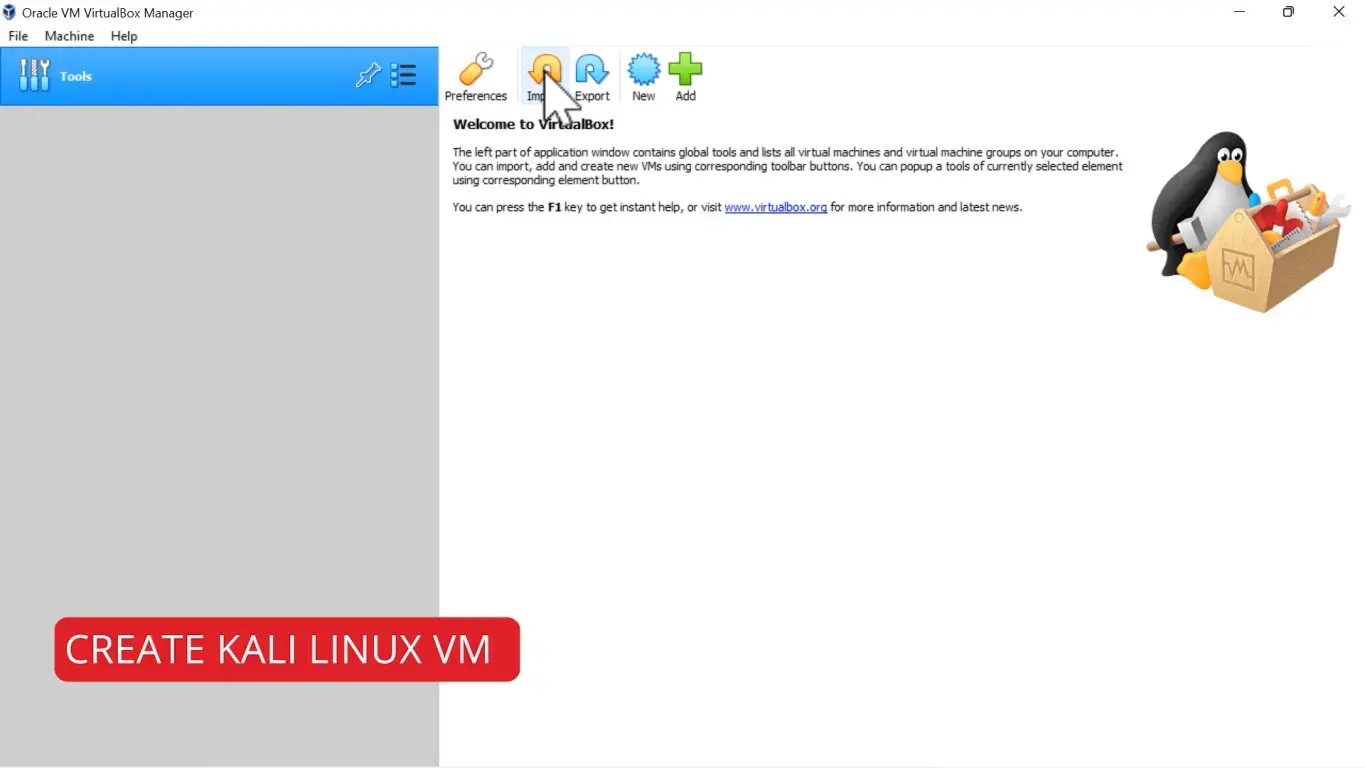
- Open VirtualBox and Click on the Import icon shown in the toolbar.
- In the import virtual appliance windows click on the browse button to select the Kali Linux OVF file.
- Go to the location where you have downloaded the Kali Linux OVF file select it and click on Open.
- Click on Next and then click on Import.
- A prompt will be shown to accept the GPL Licensing agreement click on agree then the importing process will start.
- On completion, you should see a Kali Linux virtual machine listed in the list of VM.
- Select it then in the description section note the username and password to login into Kali Linux.
- The default username and password is kali.
7. Start Kali Linux VM
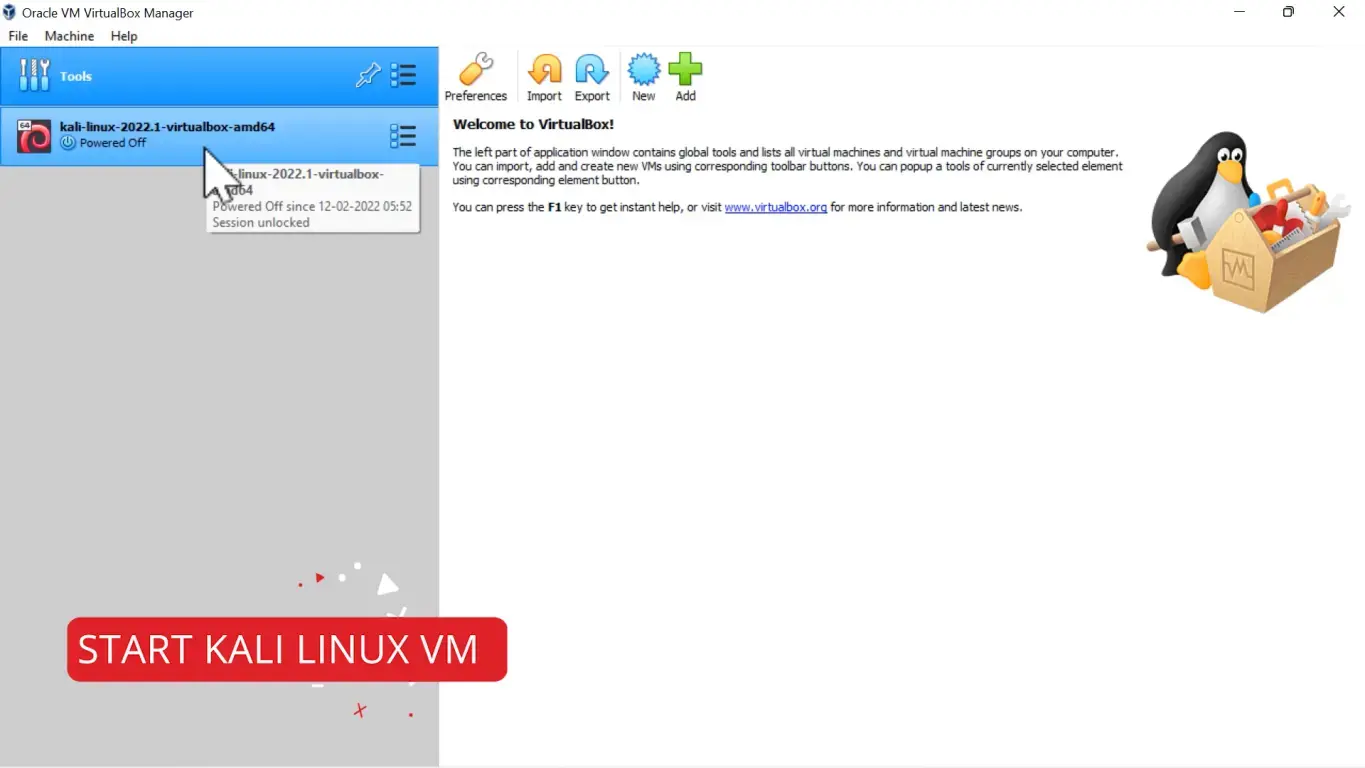
- Double click on the Kali Linux virtual machine to start it.
- Kali Linux will start booting click on the view menu and then click on fullscreen mode this will make the VM fullscreen.
- On the login screen enter the default username and password as mentioned in the Virtual Machine description section.
- At the time of writing this article, the default username and password is kali.
I Hope, friends you liked this detailed step-by-step guide for installing Kali Linux 2022 using VirtualBox on your PC and laptop computer. If you have some questions or are facing some issues. Post them down in the comment section will be glad to help you.
That’s all for today friends Subscribe to our YouTube channel to get more such videos in the future. Subscribe to our newsletters to get email alerts when we release new content. That is it for now friends, see you later bye.