by
by Hi friends, in this video you will learn the general steps involved in rooting any android device. Once you get the general idea of rooting an android phone. You can easily follow a device-specific rooting guide made for your smartphone. These steps mentioned over here are for google android phones like pixel, nexus, and android one devices. For other brands like Samsung, OnePlus, Lenovo, Moto, etc. The steps will be the same but the way to achieve them will vary from device to device.

▼Type @ Commands▼
adb devices
adb reboot bootloader
fastboot devices
fastboot boot magisk-patched.img
▼Download @ Links▼
- Magisk: https://github.com/topjohnwu/Magisk/releases
- Platform Tools: https://developer.android.com/studio/releases/platform-tools
▼Watch @ Related Video▼
- How to Unlock Android Bootloader
- How To Install ADB and Fastboot in Windows
- How to Temporary Root Any Android Phone
▼Scan @ Video Index▼
- 00:00 Intro
- 00:34 What is Root?
-
00:48 Cons of Rooting Android
- Malicious App Root Access
- Factory Reset on Bootloader Unlock
- Non Functioning of Apps
- Difficult to Hide Root
- Warranty Void
- No OTA Updates
-
01:51 Requirements for Rooting Android
- Unlocked Bootloader
- USB Data Cable
- Windows Computer
- ADB Drivers and Platform Tools Installed
- Download Device Firmware File
- 02:57 Enable Developer Options
- 04:09 Make Sure OEM Unlocking is Enabled
- 04:38 Enable USB Debugging
- 04:55 Note Down Build Number
- 05:35 Download Android Device Firmware
- 06:56 Extract Boot.img File from Firmware
- 08:30 Transfer Boot.img File to Internal Storage
- 08:59 Download & Install Magisk App
- 09:54 Patch Boot.img with Magisk App
- 10:46 Transfer Patched Boot.img File to Computer
- 11:33 Check Phone ADB Connection
- 12:32 Reboot Phone to Fastboot Mode Using ADB
- 13:02 Check Phone Fastboot Connection
- 13:27 Boot Patched boot.img Using Fastboot
- 14:40 Convert Temporary to Permanent Root
What is Root?
By rooting your android phone you get administrative rights to your android operating system. Using these admin rights you can modify system files and settings. You can also pass these privileges to apps. These apps with root access can alter the device or get access to information which is not possible without root. Making rooting your phone quite powerful. But with greater power comes greater responsibility.
Cons of Rooting Android
Before rooting your phone you need to go through some of its drawbacks. This will help you make the correct decision.
- Malicious App Root Access: Rooted phones have a lower security profile. Because if a malicious app is granted root privileges it can basically own your phone. Which is not possible on a non-rooted device.
- Factory Reset on Bootloader Unlock: Before rooting your devices you will need to unlock the bootloader. This process causes your phone to be factory reset. Which will erase all the data present on your device. So make sure to take a backup of any important data on your device before starting the rooting process.
- Non-Functioning of Apps: There are apps that actively block running on a rooted phone. These are usually banking apps. Because of the lower security profile.
- Difficult to Hide Root: In the last couple of years it has become increasingly difficult for rooted devices to block root detection by other apps. This prevents apps from running on a rooted phone.
- Warranty Void: While some OEMs like google allow warranty for rooted devices. But the majority of phone manufacturers clearly state that rooting your phone will void the phone warranty.
- No OTA Updates: Even if OTA updates are visible on rooted devices it is not advisable to install them. Because installing OTA updates on a rooted phone might soft-brick your device.
Requirements for Rooting Android
Now let’s look at the requirements for rooting an android phone. Please note not all devices can be rooted. Some devices have a permanently locked bootloader. On such devices, rooting is not possible. Some examples of such phones are smartphones launched in the USA under carrier contracts.
- Unlocked Bootloader: We have a dedicated guide showing you the steps for unlocking the bootloader for your android device. This step causes a factory reset of the phone.
- USB Data Cable: You will need to connect your phone to a computer using this USB data cable.
- Windows Computer: You can perform these steps on a Linux or macOS. But at present in this guide, I will show you how it is done in Windows. You can use any windows desktop or laptop.
- ADB Drivers and Platform Tools Installed: You will also need some software installed on your computer to connect your phone. These are called ADB and fastboot drivers and platform tools. You can follow our guide for installing these software packages.
- Device Firmware File: You will need to find the firmware for your android phone. Using Google and XDA forum I will show you how you can get hold of it.
Once you have satisfied all the requirements mentioned above. Now let’s start the rooting process.
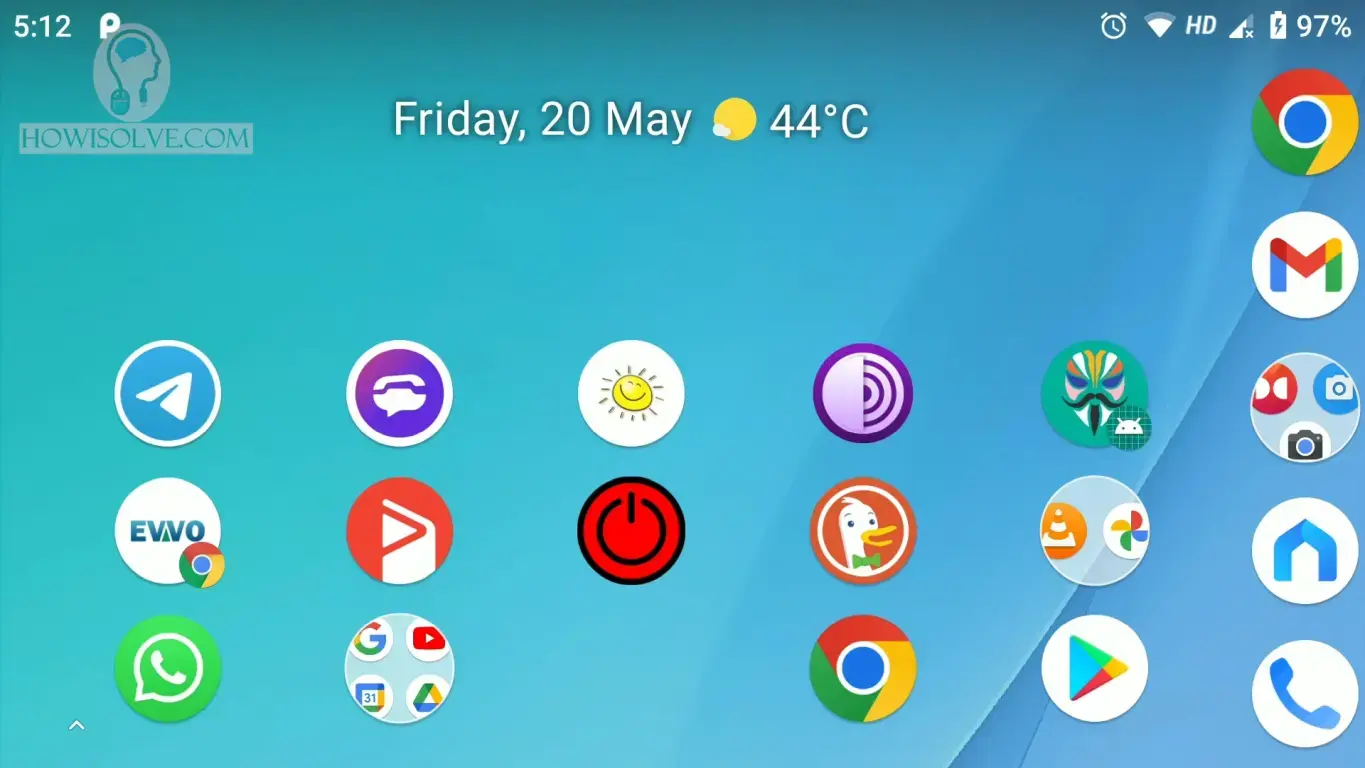
1. Note Down Build Number
- Swipe Down to open the Notification Tray.
- Then tap on the gear icon to open android Settings.
- In settings go to the System section and then go to the About Phone section.
- In the About Phone section scroll to the bottom and you will find the Build number for your android device.
- Note down this Build number we will need this number later on.
2. Enable Developer Options
To enable developer options on your phone. You will need to enable the developer mode on your android device.
- Go to the About Phone section of your Android System Settings.
- Over here scroll down and at the bottom of the About Phone section, you will find the Build number.
- Tap on the build number 5 times
- You should see a popup message saying you are now a developer.
3. Make Sure OEM Unlocking is Enabled
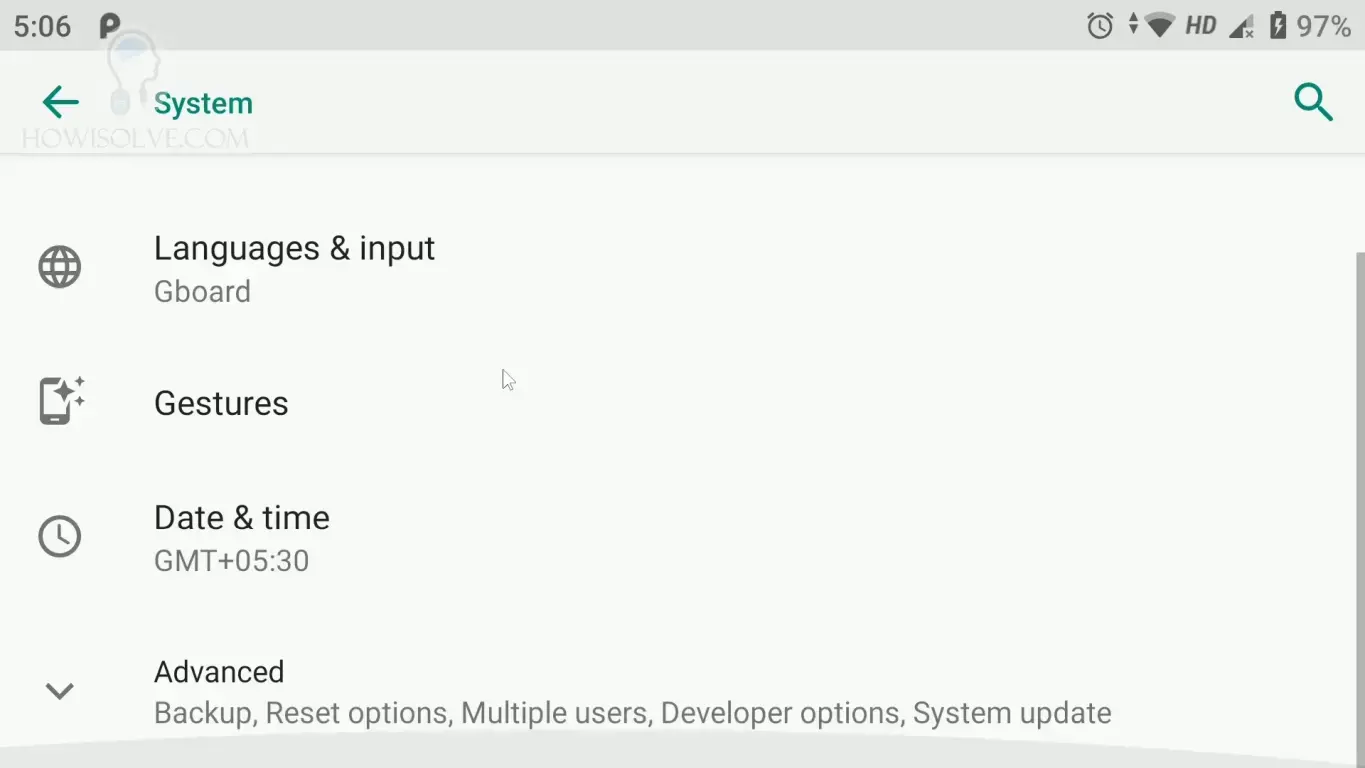
- Now go back to the system settings section of android.
- Scroll to the bottom and you should see developer options tap on it.
- In developer options, scroll down and you will find the OEM unlocking setting make sure that this is checked on.
- If this is unchecked then it means that your bootloader is not unlocked to unlock it you will need to follow our bootloader unlocking guide.
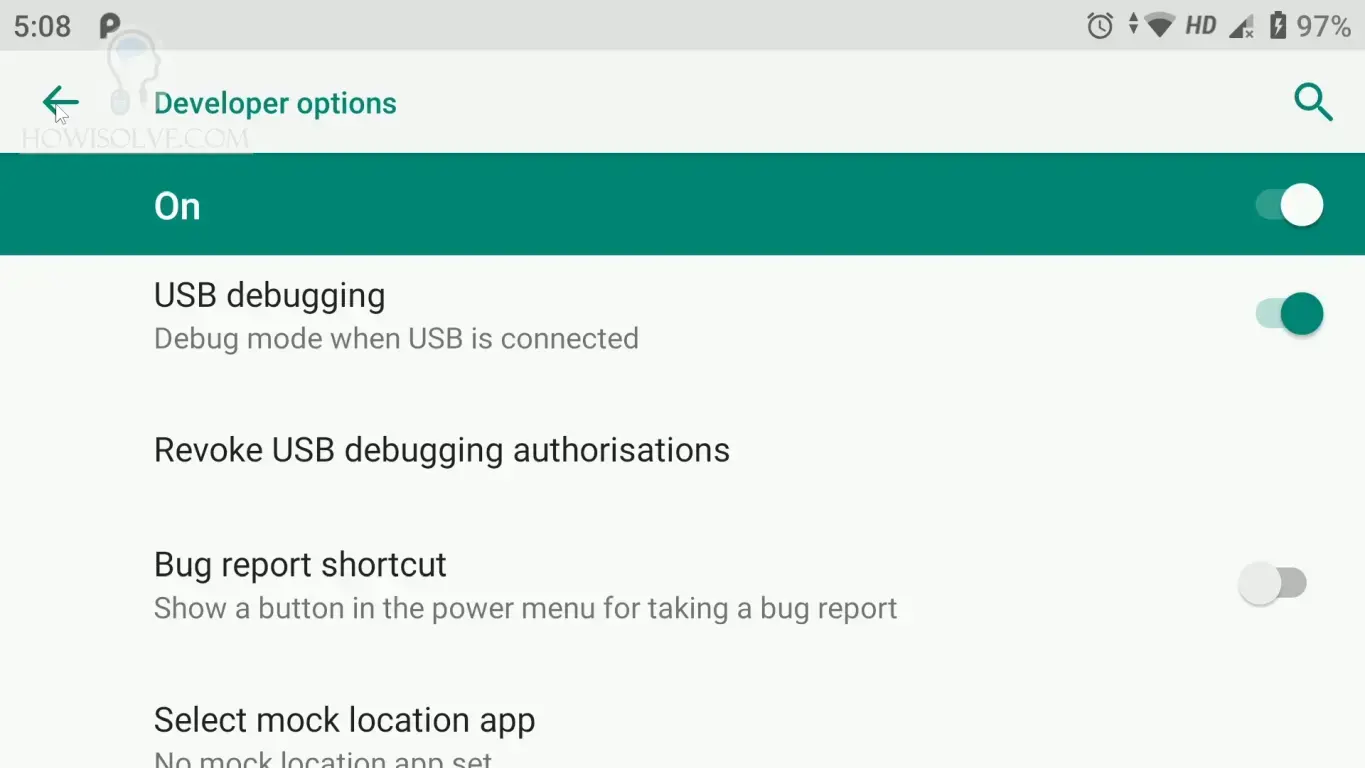
4. Enable USB Debugging
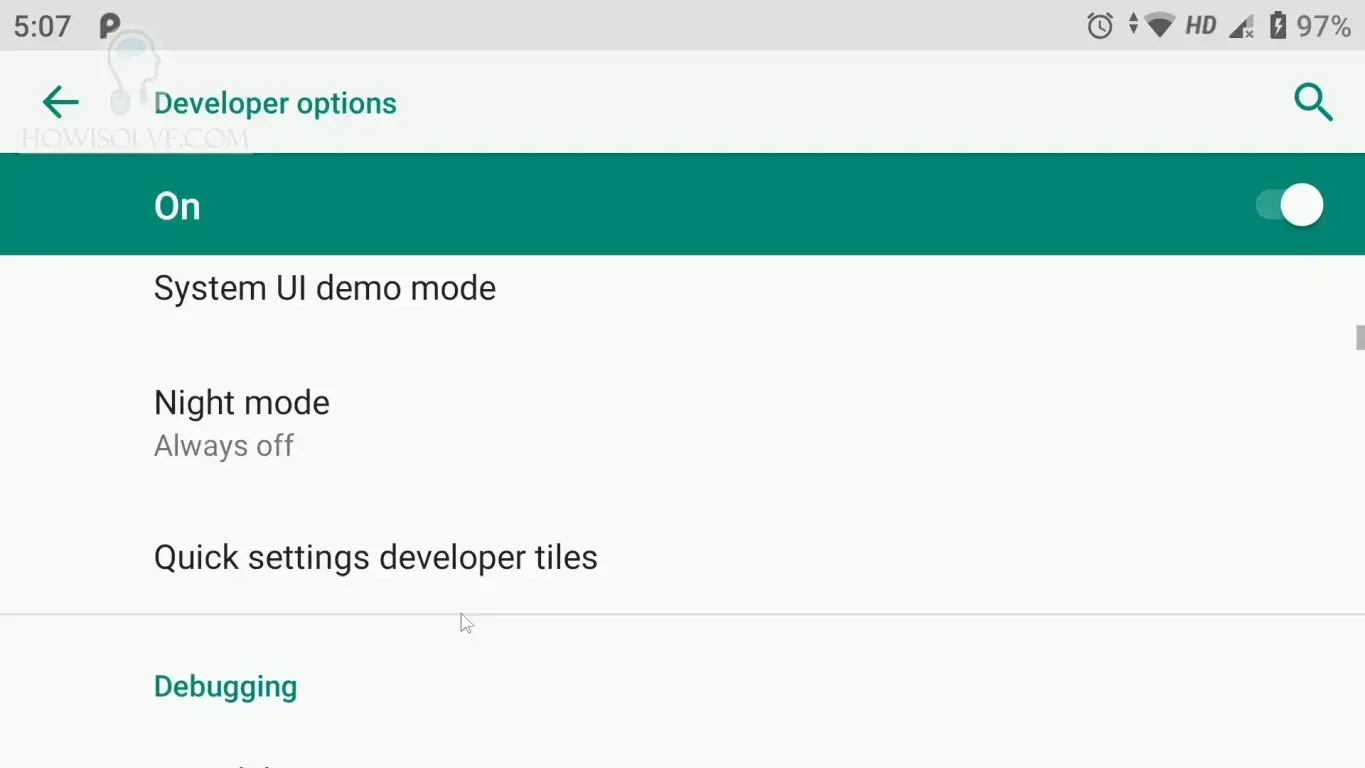
- Now scroll down in the developer options settings.
- Under debugging subsection you will find the USB debugging toggle.
- Turn on USB debugging by tapping on it.
5. Download Android Device Firmware
- Now go to your computer and open a web browser.
- We will now download the firmware file for your phone.
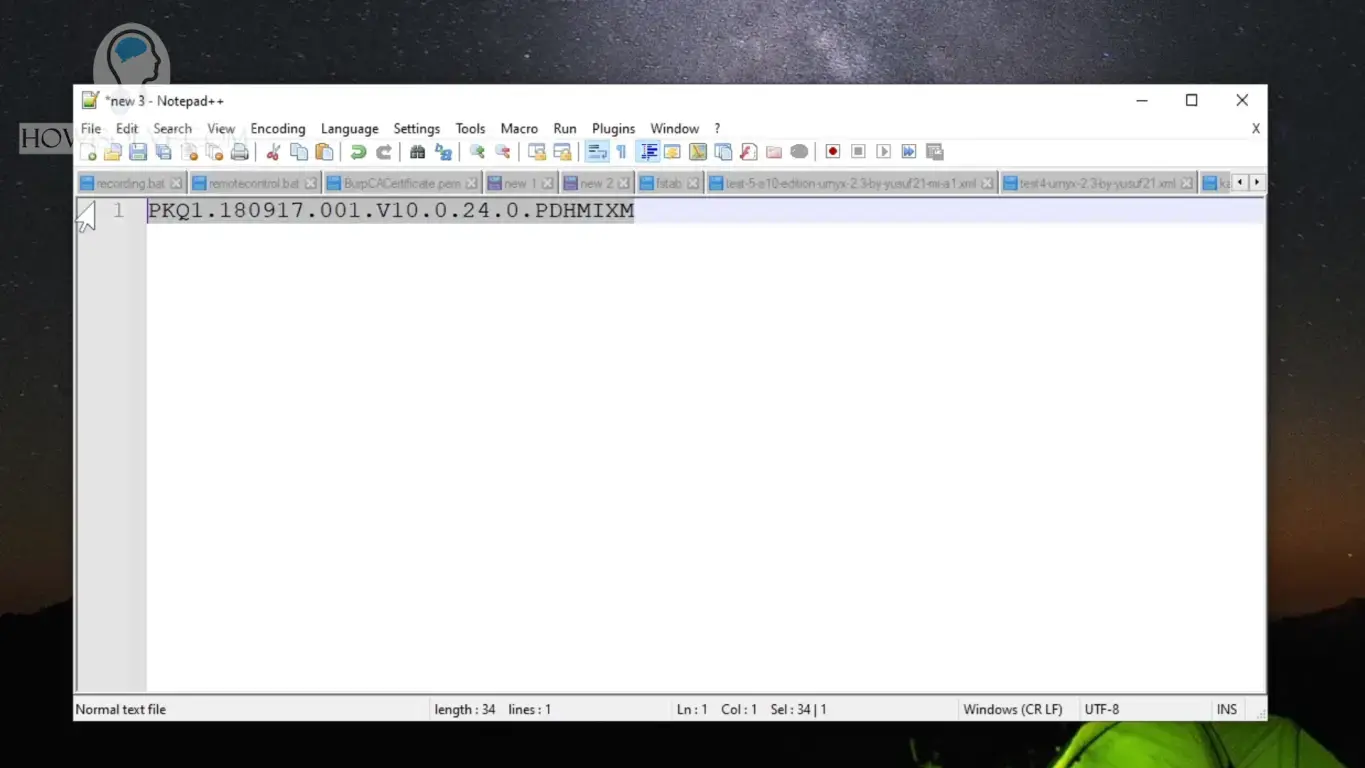
- To search for the firmware file for your phone type the google search query [Phone Model] firmware [Build Number] download xda.
- For example, for my phone, i will search mi a1 firmware V10.0.24.0.PDHMIXM download xda.
- You should find links to XDA forum open the link and over there you should find the download links for your particular firmware file.
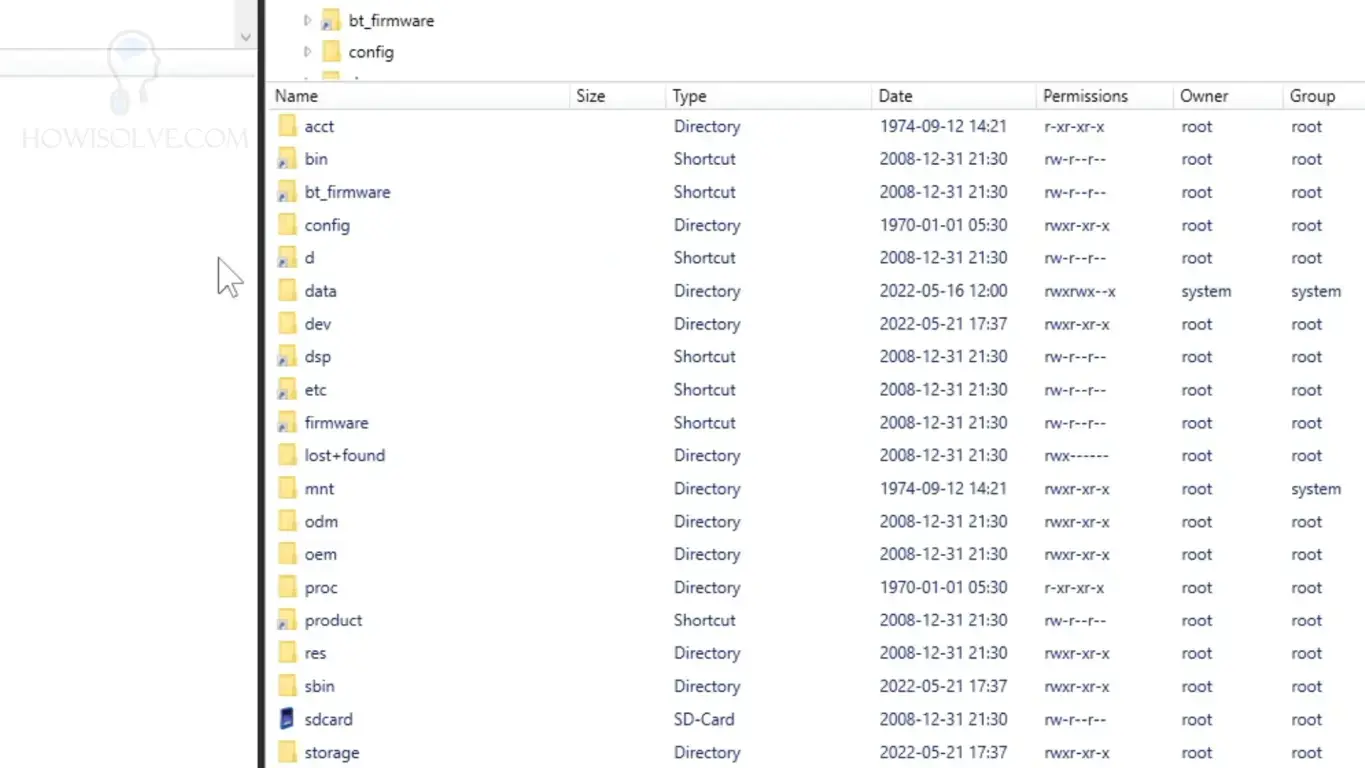
6. Extract Boot.img File from Firmware

Once you have downloaded the firmware file for your phone we will need to extract the boot.img from it. This step is device-specific. For Google android devices this is quite straightforward.
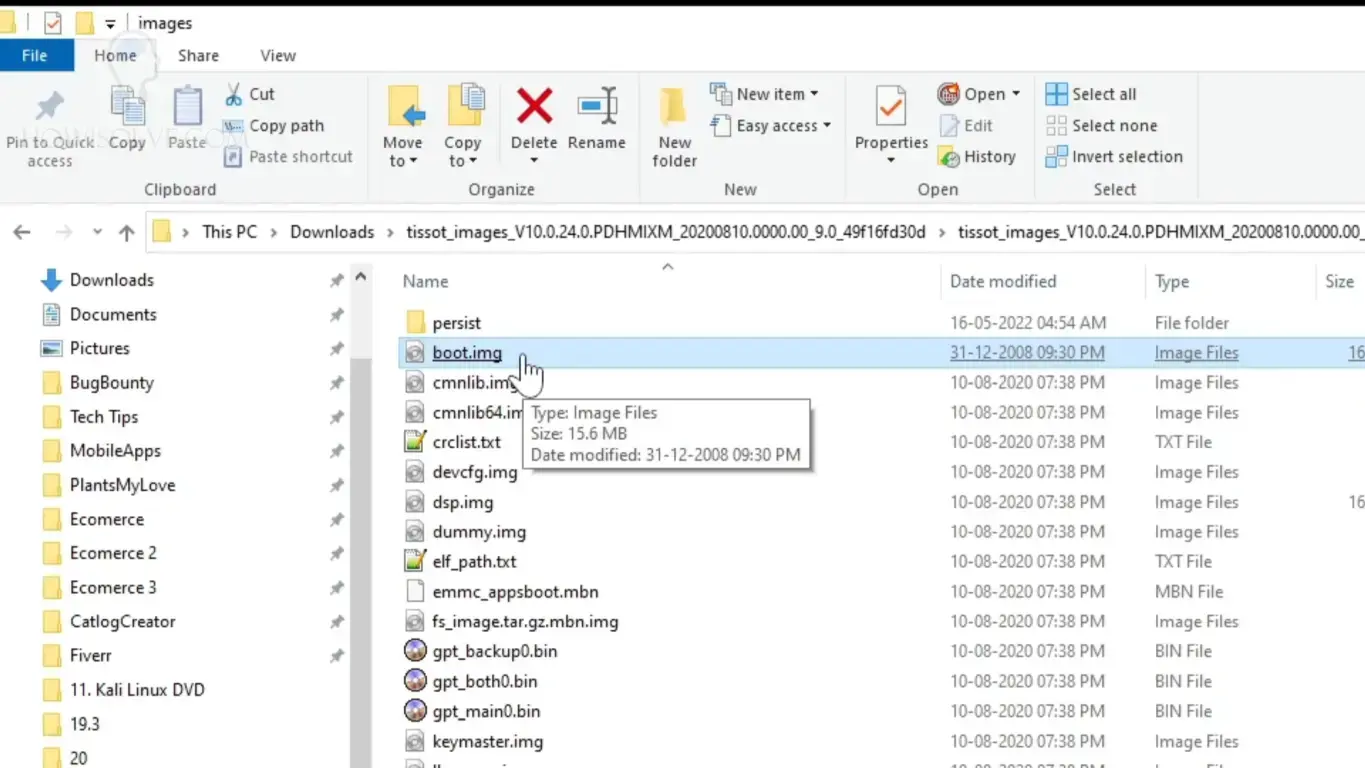
- Extract the tar firmware file with 7 zip software.
- Open the extracted firmware folder over here go inside and you should find a folder called images.
- Click on the images folder to open it up. You find over here the boot.img file.
- For other android devices, you will need to google search for the method for extracting the boot.img file.
- Google search extract boot.img [Device Manufacturere] for example for OnePlus it will be extract boot.img OnePlus.
7. Transfer Boot.img File to Internal Storage
Once you have got the boot.img from your firmware file you will need to transfer the file back to the internal storage of the device.
- Connect the phone to your computer using a USB cable
- Copy the extracted boot.img to the internal storage of your phone.
8. Download & Install Magisk App
We will now download and install the rooting app Magisk.
- Open a web browser on your phone and type Magisk GitHub in the google search.
- You should see this official Magsik GitHub page.
- Scroll down to the releases section and tap on the latest version of the app.
- At the time of recording this video, the latest version of Magisk is 24.3.
- Scroll down and you should see the apk file tap on it to start the download process.
- Once downloaded tap on open and you will be asked to grant permission to install apps from unknown sources.
- Grant it that permission and the app should get installed.
9. Patch Boot.img with Magisk App
Now we will patch the boot.img file which we transferred to the smartphone previously to grant root access.
- Open the recently installed Magisk app.
- Tap on the Install button then tap on Next.
- Then under Method tap on select and patch a file.
- It will now ask you to provide the boot.img file which you transferred to your phone’s internal storage.
- Go to the location where you have copied the boot.img file and select it then tap on select.
- Now Tap on Let’s Go this will start the patching process.
- Once the process is finished it will show the location of the patched boot.img
10. Transfer Patched Boot.img File to Computer
Now transfer the patched boot.img file to the computer. I will transfer it to my desktop and rename the file magisk-patched.img
11. Check Phone ADB Connection
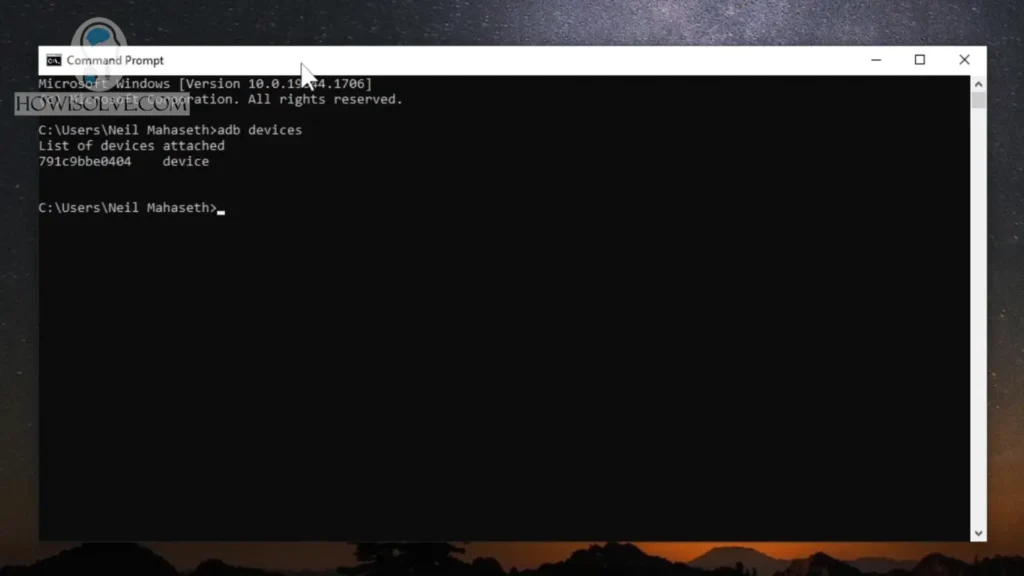
Make sure you have set up ADB and fastboot drivers and Platform Tools on your windows computer.
- Connect the phone using the USB data cable.
- Open the command prompt and type the command adb devices.
- This will list down your phone with the serial number.
- If you are connecting the device for the first time you might see unauthorized mentioned next to the serial number.
- In that case, you will need to check your phone and tap on yes to grant the computer access to your phone.
- After doing that the unauthorized should change to devices.
12. Reboot Phone to Fastboot Mode Using ADB
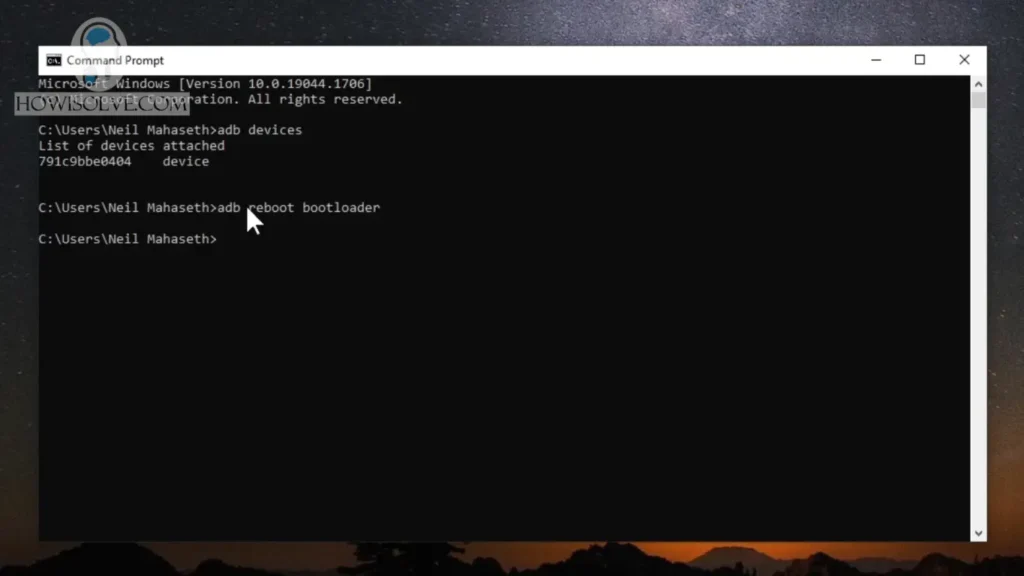
Once you have confirmed your ADB connection with your phone.
- To reboot the phone into fastboot mode type the command adb reboot bootloader.
- Your phone will reboot and you should see the phone load in fastboot.
13. Check Phone Fastboot Connection
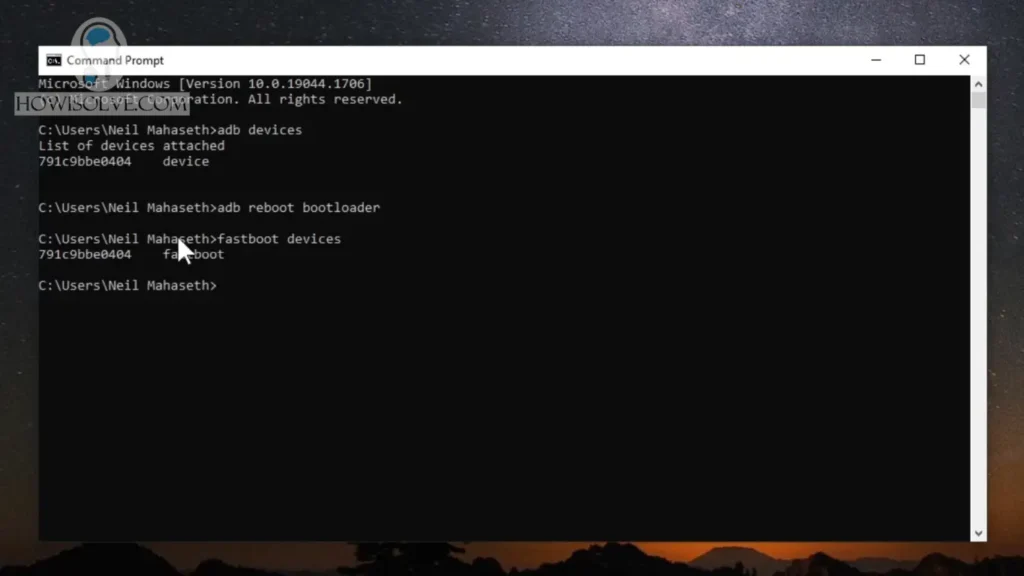
- To check the fastboot drivers have properly loaded and detected your device type the command fastboot devices.
- This should list your device with its serial number followed by fastboot.
- If you do not see the phone listed you might have a driver problem.
- You might need to manually install the bootloader drivers in the device manager.
14. Boot Patched boot.img Using Fastboot
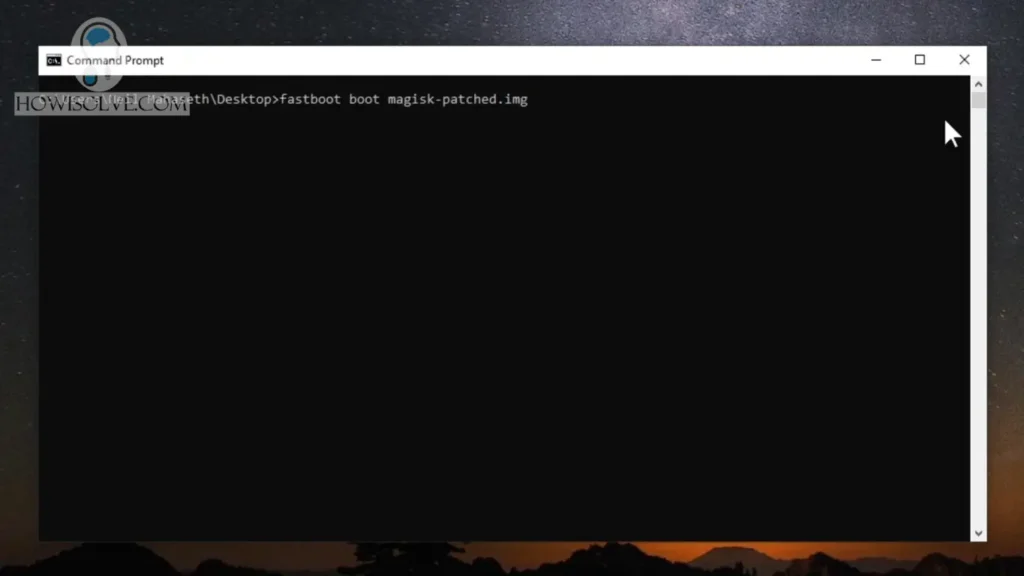
Now we will boot your phone using the patched boot image generated by Magisk via the fastboot mode. Note this step is not possible on some devices like the Samsung Galaxy series. For these phones, you will need to follow a dedicated device-specific guide you should find that on XDA forums.
- To boot the patched boot image go to the location where you copied the patched boot image. By typing the command cd “/location/Of/patchedboot/”
- Once you are in the same directory as that of patched boot image type the command fastboot boot magisk-patched.img
- Your phone will reboot and you should have temporary root access.
15. Convert Temporary to Permanent Root
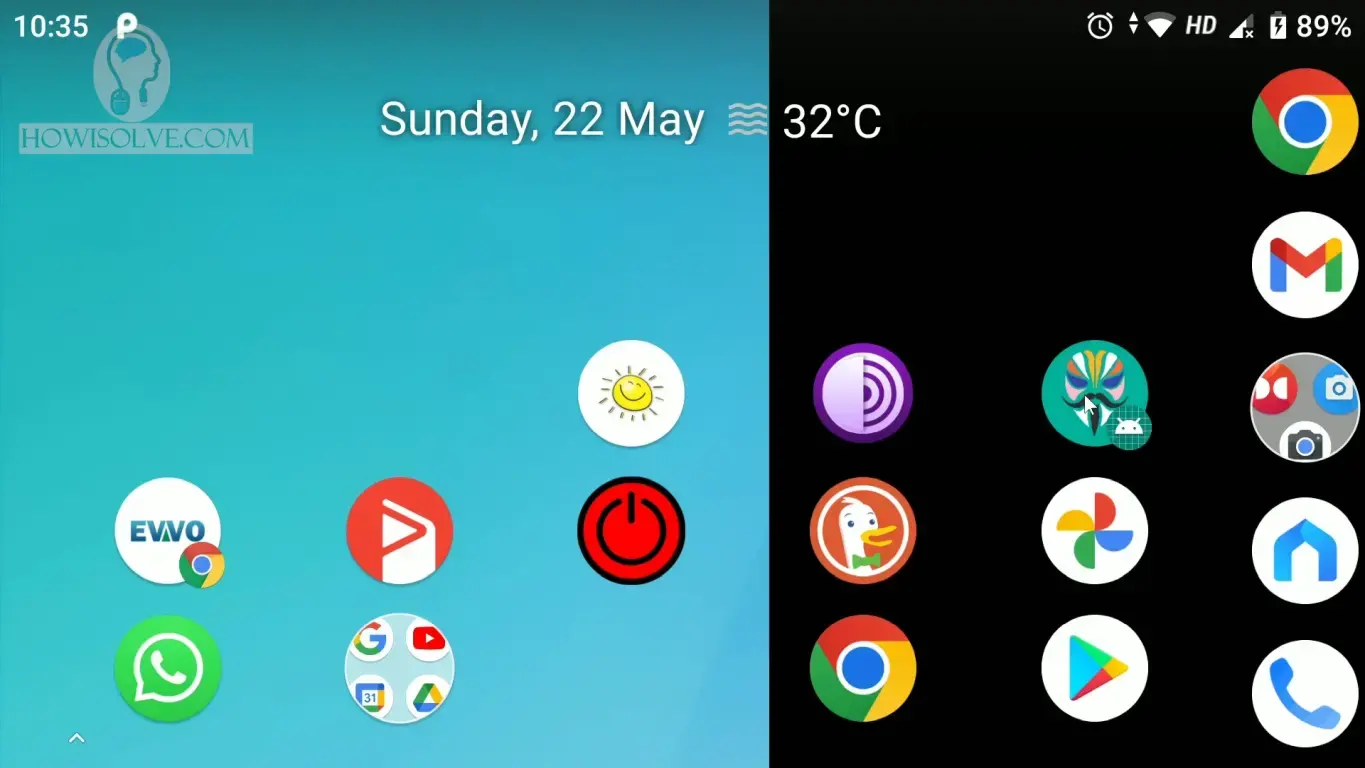
Once the phone reboots we will now convert the temporary root access to permanent using the Magisk app.
- Open the Magisk App.
- Then tap on Install in options then tap on Next.
- In the method, select Direct Install then Tap On Let’s Go.
- Magisk will now start the installation of the permanent root access.
I Hope, friends you liked this detailed step-by-step guide to root any android phone. If you have some questions or are facing some issues. Post them down in the comment section will be glad to help you.
That’s all for today friends Subscribe to our YouTube channel to get more such videos in the future. Subscribe to our newsletters to get email alerts when we release new content. That is it for now friends, see you later bye.