by
by This is a general-purpose android phone rooting guide. Using this guide you can root google devices like Nexus, Pixel, and Android One phones. But the main idea of creating this guide is to know the basic steps for rooting an android phone. Once you have a general idea, it will be easier for you to follow device-specific rooting guides.

▼Type @ Commands▼
adb devices

adb reboot bootloader

fastboot devices

fastboot boot magisk-patched.img
▼Watch @ Related Video▼
▼Download @ Links▼
- Magisk: https://github.com/topjohnwu/Magisk/releases
- Platform Tools: https://developer.android.com/studio/releases/platform-tools
▼Scan @ Video Index▼
- 00:00 Intro
- 00:21 What Is Temporary Root
- 00:36 Requirements
- 00:44 Unlocked Android Bootloader
- 01:01 USB Data Cable
- 01:05 Windows Computer
- 01:19 ADB & Fastboot Drivers
- 01:21 Platform Tools
- 01:22 Firmware Boot Image
- 01:44 Enable Developer Mode
- 02:29 Open Developer Options
- 02:41 Make Sure Bootloader Unlocked
- 03:27 Enable USB Debugging
- 03:46 Note Down Build Number
- 04:18 Install Magisk App
- 05:41 Connect Phone To Computer via USB
- 05:54 Download Android Firmware
- 06:10 Find Android Firmware Using Google
- 06:40 Find Android Firmware on XDA Forum
- 07:26 Download Fastboot Firmware
- 07:35 Match Firmware Version with Build Number
- 07:54 Extract boot.img from Firmware
- 08:35 Google search how to get boot.img from firmware
- 09:28 Transfer boot.img to Phone Internal Storage
- 09:59 Patch boot.img file with Magisk
- 11:03 Transfer Patched boot.img to Computer
- 11:39 Reboot Phone to Fastboot Mode
- 12:46 Check if Phone is Detected in Fastboot Mode
- 12:59 Boot Patched boot.img using Fastboot
- 14:00 Check Root Access
1. What Is Temporary Root
In temporary rooted devices, the root privilege is removed when the device is rebooted. This is achieved by booting the phone with a patched boot.img which adds the root access. But unlike a permanent root, this modified boot image is not written to the device’s storage. So using this you can test run the patched boot image before flashing it to the smartphone.
2. Requirements
There are some hardware and software requirements for this process to succeed. Not all phones can be rooted. Some smartphone OEM manufacturers block Android bootloader unlocking. This is essential for getting temporary root.
- Unlocked Android Bootloader: This allows us to alter the boot image of the devices to allow root access.
- USB Data Cable: The phone needs to be connected to a windows computer by a USB data cable. This allows us to send the commands and transfer files for booting the patched boot.img file.
- Windows Computer: You can do this process on Linux or Mac but we will use a Windows computer to root the phone.
- ADB & Fastboot Drivers: You will need to install the drivers for adb and fastboot for your particular device. We have a dedicated guide showing the steps for doing it you can check it out. How To Install ADB and Fastboot in Windows
- Platform Tools: This set of tools like adb fastboot is provided by google to debug android phones. You will need to download this and add it to your system path variable. https://developer.android.com/studio/releases/platform-tools
- Firmware Boot Image: This is a device-specific file that basically has your android kernel. I will show you how you can get the boot.img file for google devices. For other OEMs, the process will vary. I will guide you on how you can find this file for your particular phone model using google and XDA forums.
3. Enable Developer Mode & Note Down Build Number
- Swipe down the notifications section and tap on the gear icon to open android Settings.
- In settings scroll down to the System section and tap on it to enter.
- Tap on the About Phone in the system section to open it.
- In about phone scroll down and you will find the Build Number at the bottom.
- Tap on Build Number 5 times to enable developer mode.
- Note down the build number as we will need it for downloading the firmware file.
4. Make Sure Bootloader Unlocked
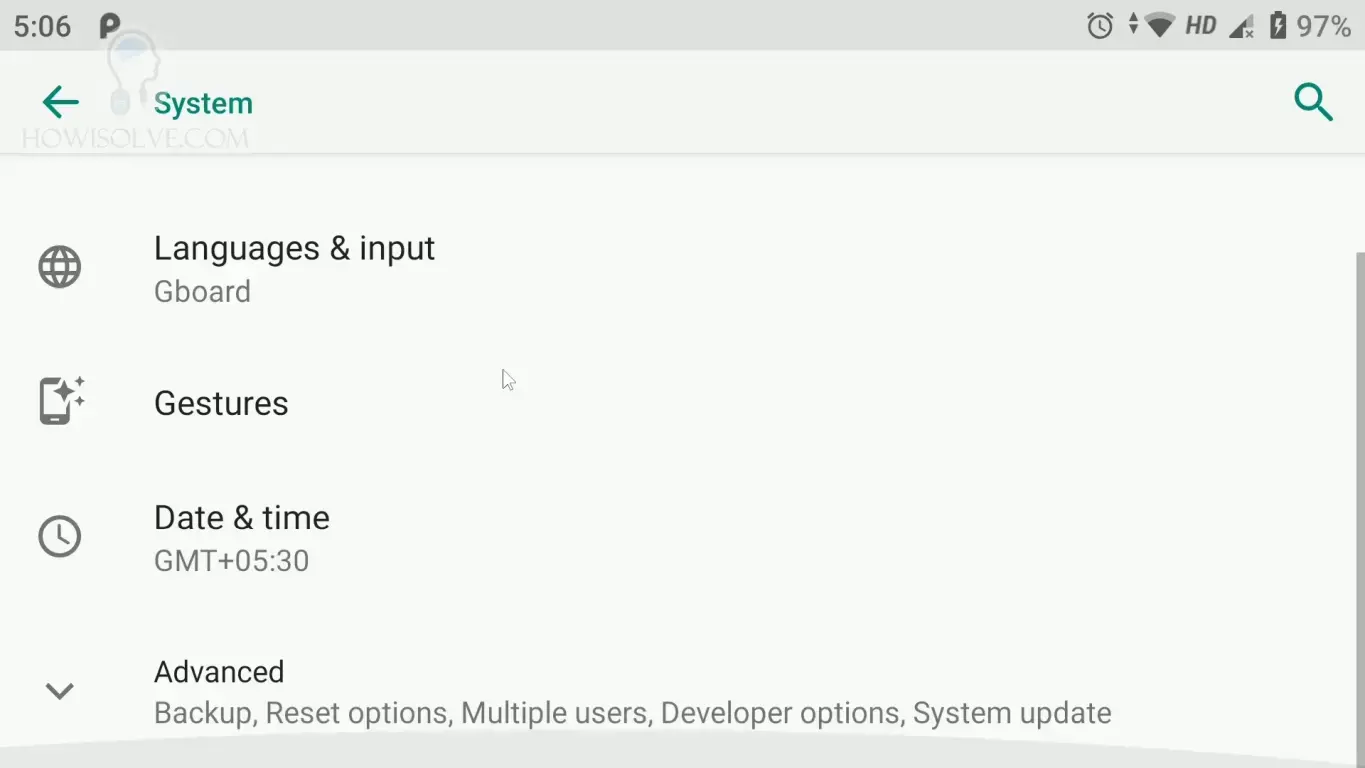
- Go back to the System settings section and scroll to the bottom.
- Over here tap on the Advanced section and you should see developer options at the bottom of the section.
- Tap on Developer options to open it scroll down and you should see OEM Unlocking settings.
- If you have unlocked the phone bootloader OEM Unlocking will be toggled on.
- This guide will not work if OEM Unlocking is off.
- Note that unlocking the bootloader causes the phone to factory reset.
5. Enable USB Debugging
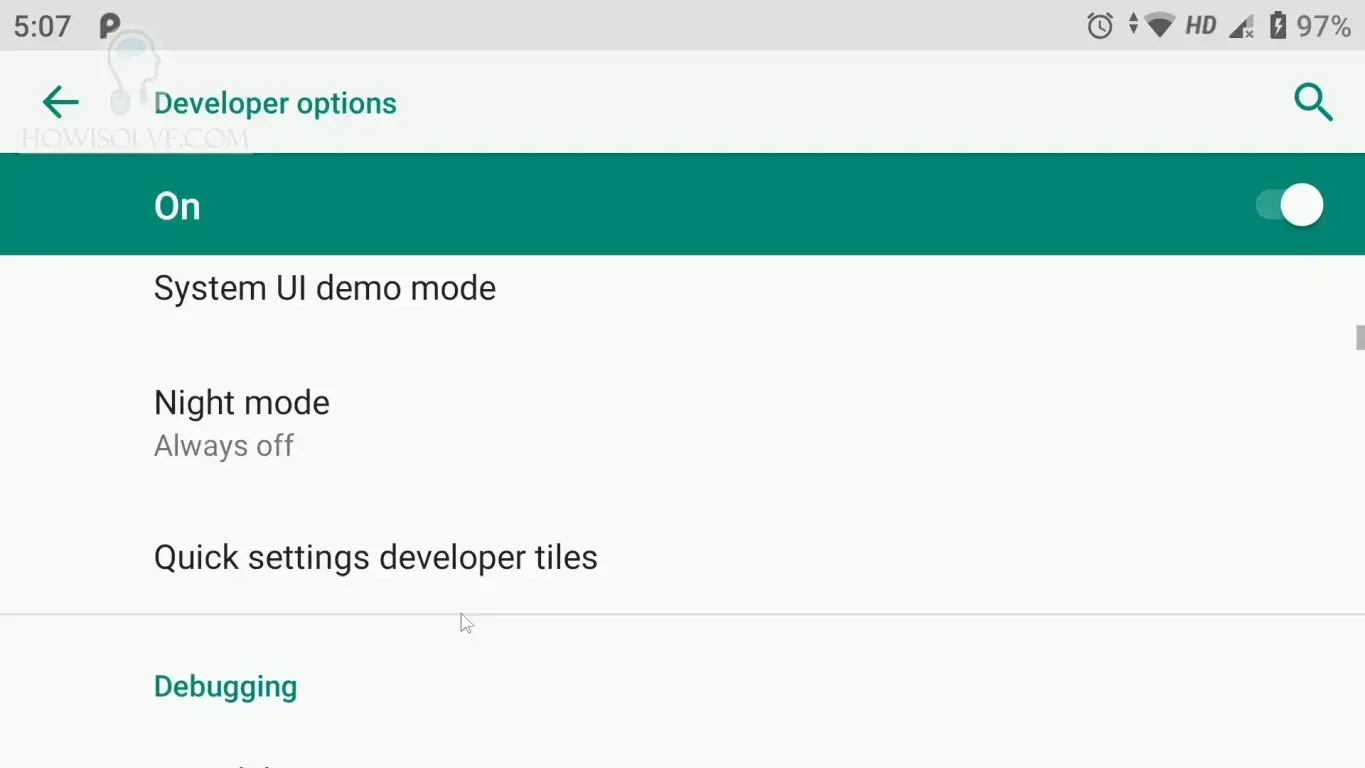
- Once you have confirmed that OEM unlocking is enabled scroll down to the debugging section.
- Under here enable USB debugging by tapping on the toggle button.
- USB debugging will allow us to connect the phone using adb and fastboot.
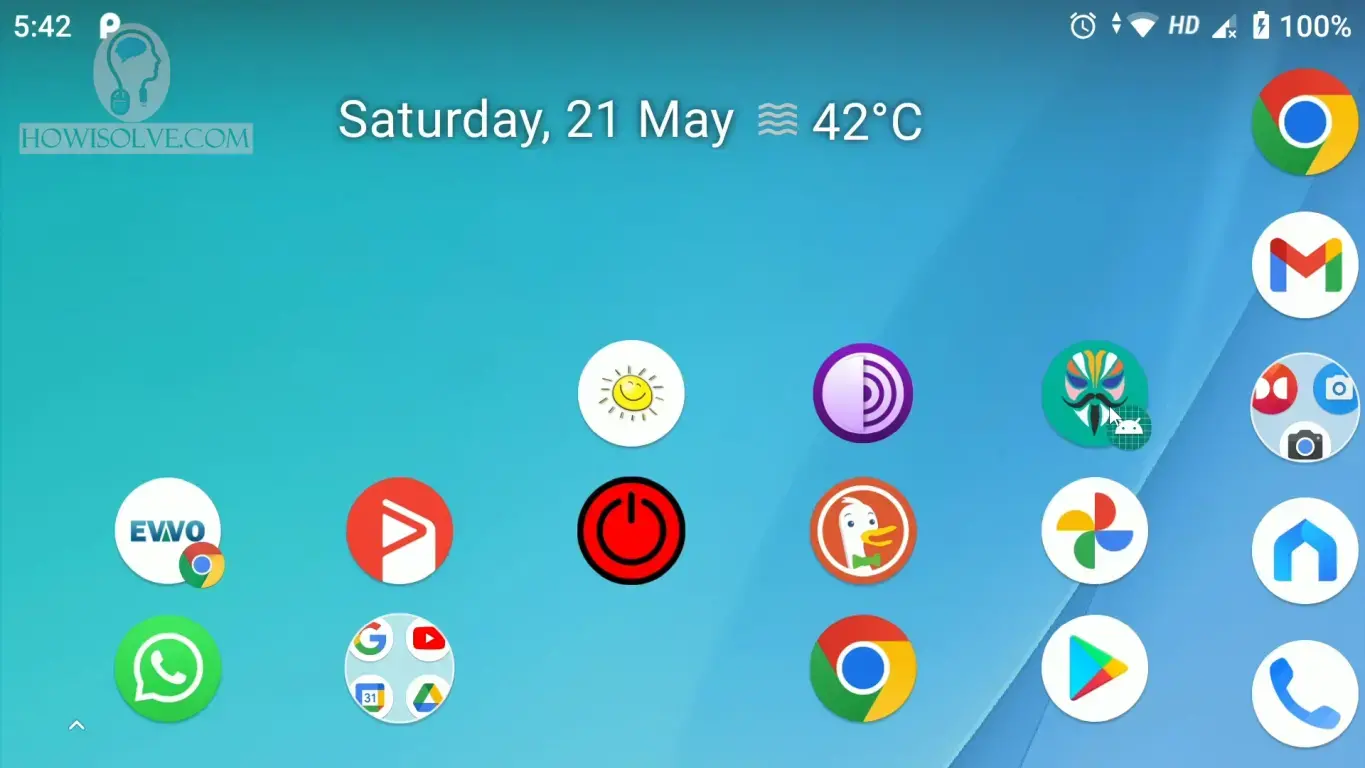
6. Install Magisk App
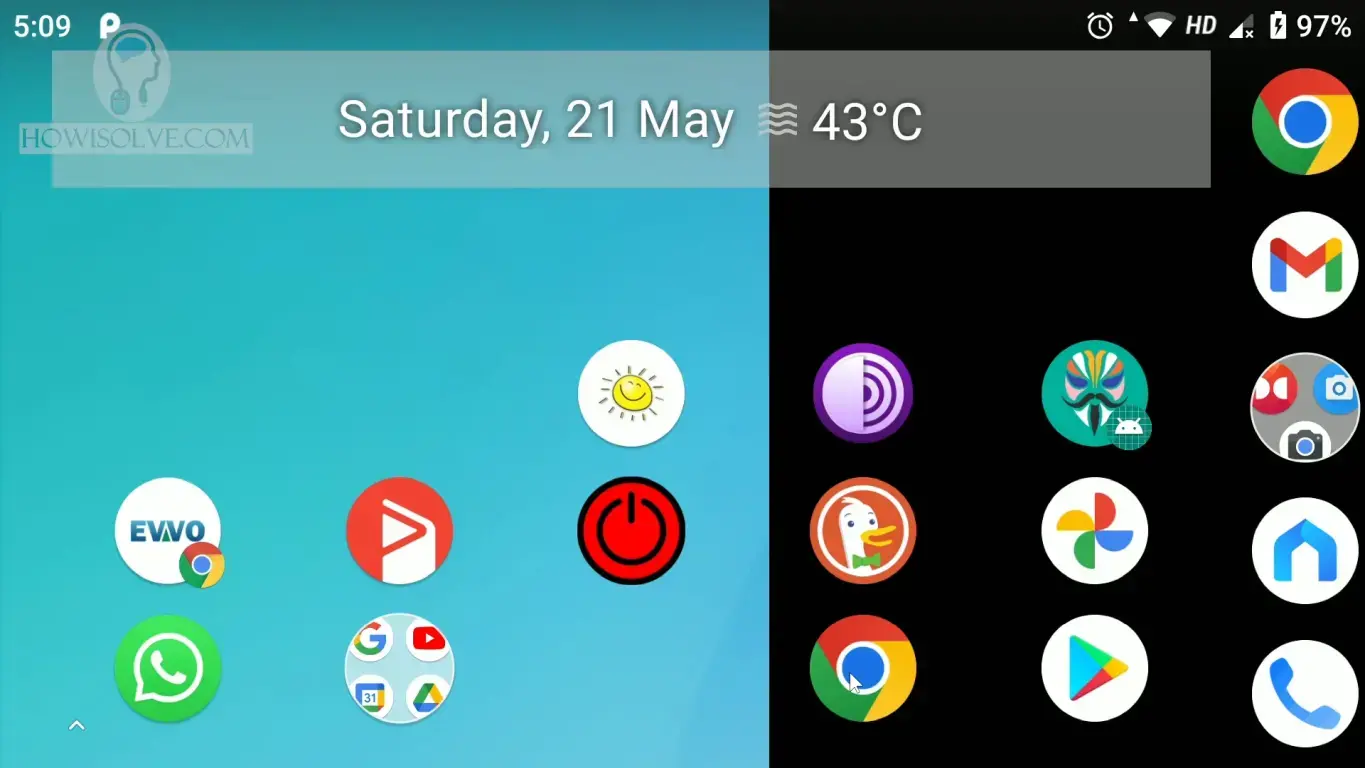
- Open a web browser on your mobile phone and google search “magisk github“.
- You should find the official Magisk download page https://github.com/topjohnwu/Magisk
- Scroll down and you should see releases at the bottom tap on the latest release
- On this page scroll down and under assets, you should see the apk file.
- Download and Install the Magisk apk.
- You might need to give permission to your browser to install from unknown sources apk
7. Download Android Firmware
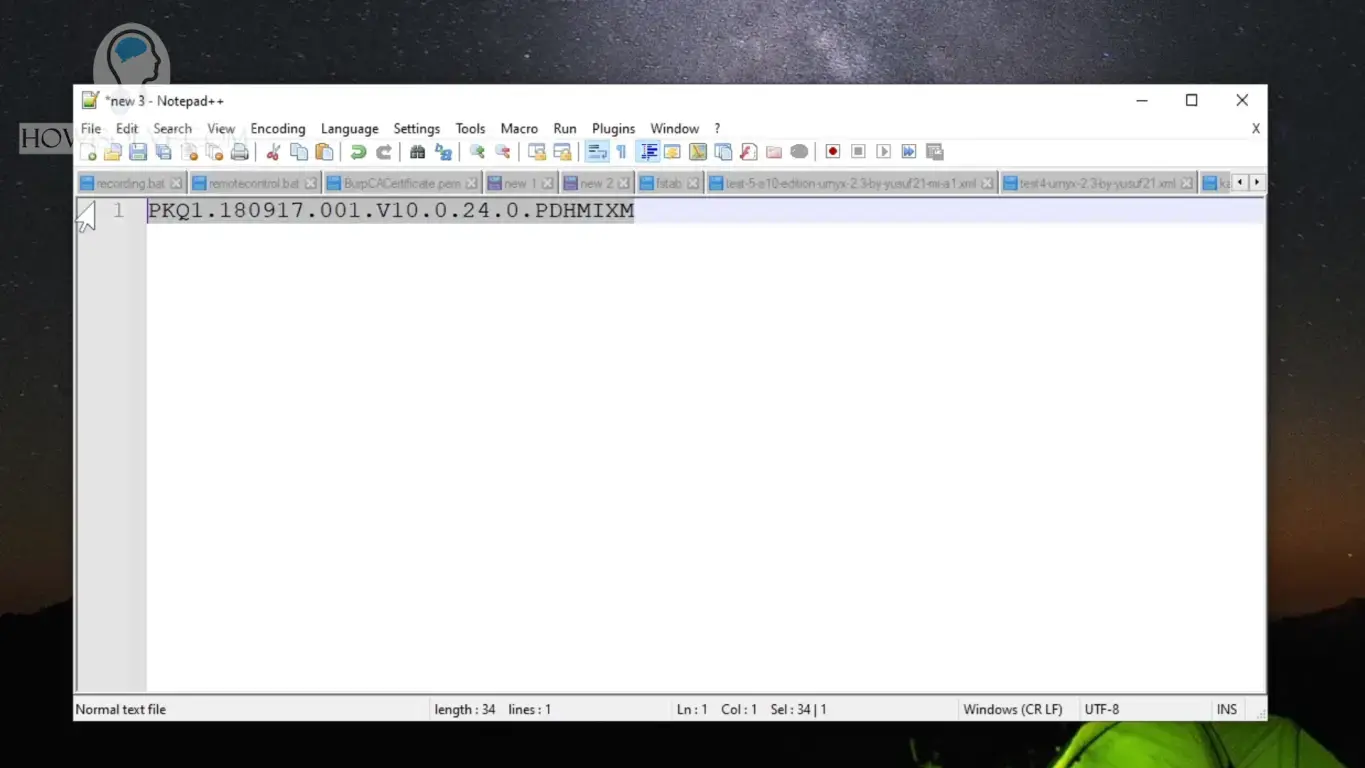
- On your computer open the web browser and google search [Your Phone Model] firmware [buildnumber]
- For example, to find the firmware for my phone I will google search “Mi A1 firmware V10.0.24.0.PDHMIXM“
- If you are unable to get the firmware using the above search you can also search the XDA forum.
- The google search query will be [Your Phone Model] firmware download XDA.
- For my phone, I will search “Mi A1 firmware download XDA“.
- Once you get the firmware file for your phone before downloading match your phone build number with the firmware version number.
- When you are sure that the build number matches download the firmware file.
- For my phone, I was able to get the firmware file from https://xiaomifirmwareupdater.com/miui/tissot/stable/V10.0.24.0.PDHMIXM/
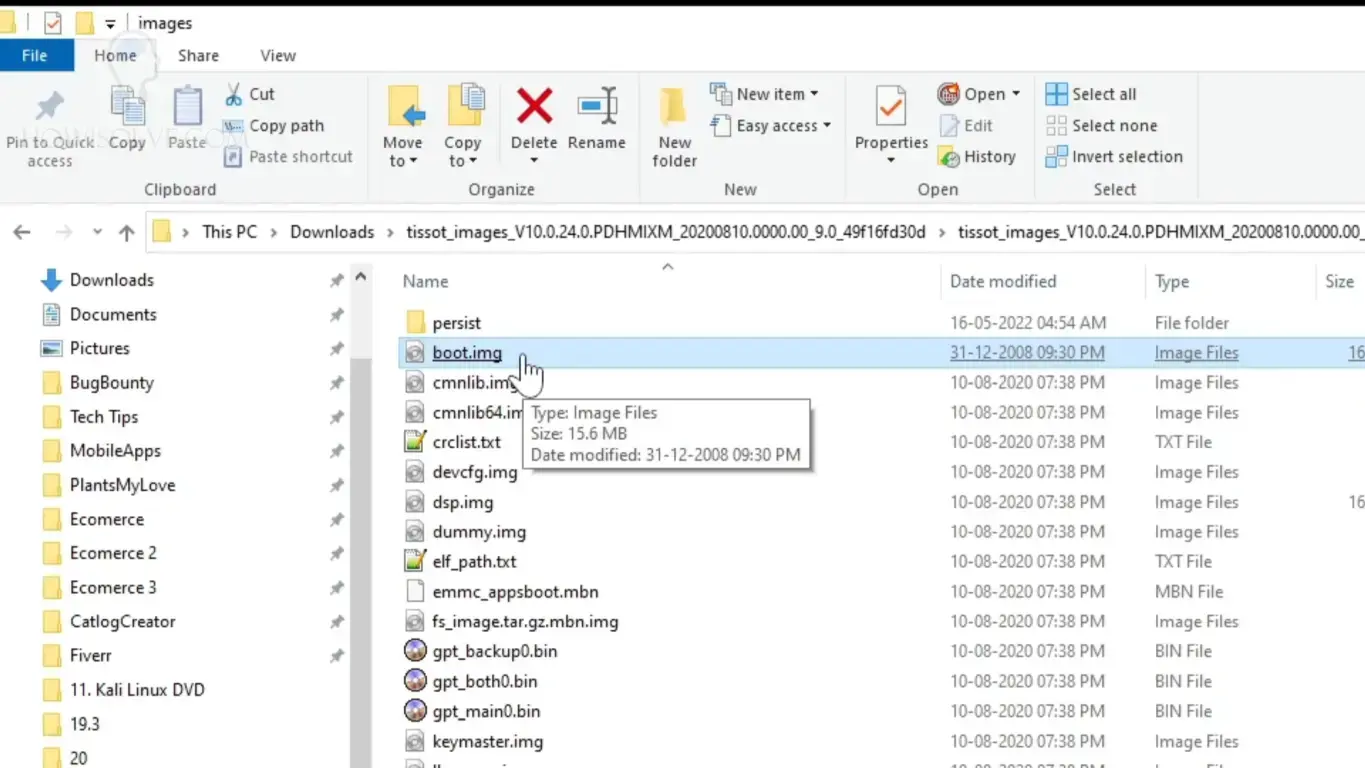
8. Extract boot.img from Firmware

The process to extract boot.img file from the OEM firmware file changes from device to device. I will show you the steps required for my device. This process is the same on other google manufactured devices.
- For google manufactured devices and generic android devices, you can unzip the downloaded firmware file using a zip software.
- On extraction, you should see an images directory go inside it.
- In this folder, you will find the boot.img file.
- For other devices, you can google search “extract boot.img [Device Manufacturer]“.
- For example, for one plus device the google search query will be “extract boot.img one plus“
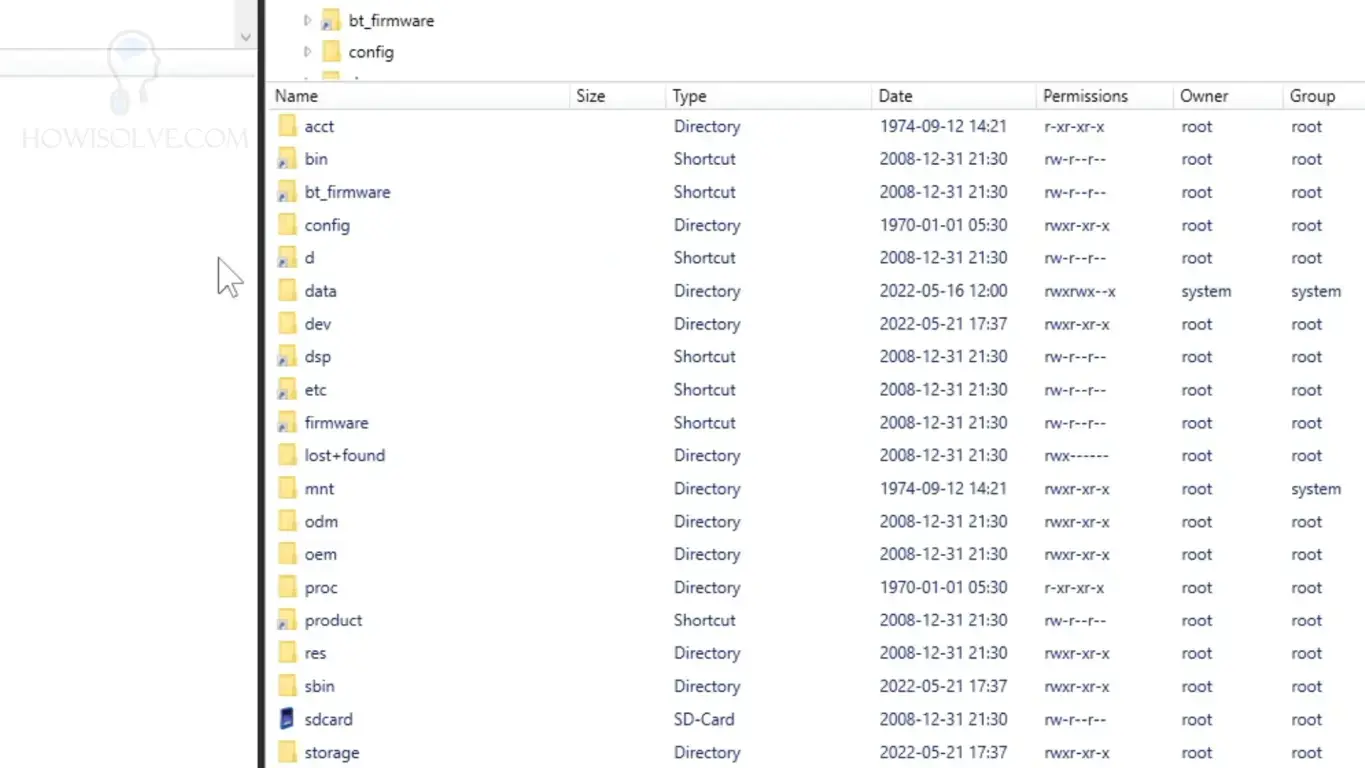
9. Transfer boot.img to Phone Internal Storage
Once you have extracted the boot.img file. Transfer the file to the phone’s internal storage. You can do this using the USB data cable.
10. Patch boot.img file with Magisk

- Open the Magisk App that we installed previously.
- Click on the install button.
- On the install, screen click on the next button.
- In the method select the first option select and patch file.
- Now select the boot.img file that you transferred from your computer to your internal storage.
- Then click the Let’s go button this will start the patching process.
- Once the process is completed Magisk will create a patched boot image in the download folder.
11. Transfer Patched boot.img to Computer
Now transfer the patched boot image that Magisk created in the download folder from your phone to your computer. You can rename it to something easier to remember. I have renamed it to magisk-patched.img.
12. Boot Patched boot.img using Fastboot

Now we will boot the phone using this patched boot image. To follow the below steps you will need the phone to have an unlocked bootloader. Your computer should have adb & fastboot drivers installed along with the platform-tools setup.
- Open command prompt by typing CMD in search.
- Make sure to connect the phone to the computer via USB.
- Type the command adb devices this will list all the android devices currently connected to your computer.
- Once you are sure your device has been detected type the command adb reboot bootloader.
- Now phone will start rebooting into fastboot mode once the phone is in fastboot mode type the command fastboot devices.
- If you can see your device list in fastboot, then go to the directory where you have transferred the patched boot.img by typing cd.
- Now type the command fastboot boot magisk-patched.img . Replace magisk-patched.img with the file name of your patched boot image.
- After rebooting your android device will be rooted temporarily.
13. Check Root Access
- Open the Magisk app and you should see the Magisk version number in the installed subheading.
- You can also check the root status using the root checker app from the play store.
- Please note once you reboot the phone root access will be removed.
I Hope, friends you liked this detailed step-by-step guide to temporarily root any android phone. If you have some questions or are facing some issues. Post them down in the comment section will be glad to help you.
That’s all for today friends Subscribe to our YouTube channel to get more such videos in the future. Subscribe to our newsletters to get email alerts when we release new content. That is it for now friends, see you later bye.