by
by This is a step-by-step general android bootloader unlocking guide. Using this guide you can unlock google phones like pixel, nexus, etc some android one phones, and generic android devices. The general steps are the same for other OEMs, but there might be additional steps. Google search android bootloader unlocking [phone model] followed by XDA. This will give you device-specific bootloader unlocking guides.
▼Type @ Commands▼
adb devices
adb reboot bootloader
fastboot devices
fastboot flashing unlock
fastboot oem unlock
fastboot reboot
▼Watch @ RelatedVideo▼
How To Install ADB and Fastboot in Windows
▼Download @ Links▼
- SDK Platform Tools: https://developer.android.com/studio/releases/platform-tools
- Google USB Driver: https://developer.android.com/studio/run/win-usb
- OEM USB Driver: https://developer.android.com/studio/run/oem-usb#Drivers
▼Scan @ Video Index▼
- 00:00 Intro
- 00:37 Cons of Unlocking Bootloader
- 01:21 Pros of Unlocking Bootloader
- 01:41 Some Phones Cannot Be Unlocked
- 02:28 Extra Step for Some Devices
- 02:54 Find Device Specific Guide on XDA
- 03:27 Requirements
- 03:55 Enable Developer Mode
- 05:03 Enable USB Debugging
- 05:32 Install ADB Fastboot Drivers and Platform Tools on PC
- 06:04 Enable OEM Unlocking (Phone Erased)
- 06:35 Connect Phone To PC Via USB
- 06:50 Use ADB to Reboot To Fastboot
- 07:35 Unlock Bootloader in Fastboot (Phone Erased)
- 08:58 Reboot Phone to System
Cons of Unlocking Bootloader
Before you begin unlocking your device bootloader. You should know about the below-mentioned drawbacks of it.
1. Phone Will be Erased (Factory Reset)
As soon as you unlock your bootloader the device is factory reset. So any data present on the phone will be erased. This includes all your contacts, internal storage data, SMS, call logs, app data, etc. So backup any files that are important to you before proceeding to unlock your bootloader.
2. Warranty Void
This might not be true with all phone manufacturers. But a significant number of OEMs have a policy of voiding the warranty in case you unlock your phone. So if your phone is still in warranty you should seriously reconsider your decision.
Pros of Unlocking Bootloader
As you might already be knowing these are the major benefits of unlocking your bootloader
1. Root Your Phone
To install Magisk you need to patch the boot.img file which is only possible if you have an unlocked bootloader.
2. Install Custom Recovery TWRP
If you are planning to install a custom ROM having TWRP custom recovery makes things much easier.
3. Flash Custom ROM
Custom ROM all you to use the full potential of your device without the OEM bloatware. Again only possible with an unlocked bootloader.
Somethings You Should Know
1. Some Phones Cannot Be Unlocked
If you have made up your mind to unlock your device it still might not be possible to it. This is usually the case with phones launched in the US with mobile carrier contracts. These devices are locked permanently and can only be unlocked by mobile carriers like Verizon, and AT&t. Which is usually denied by them. Apart from this, there are Samsung phones which come with an unlocked bootloader. But do not follow the standard android bootloader conventions like fastboot.
2. Extra Steps for Some Devices
Some OEMs allow bootloader unlocking but only on a request basis. For example, for Xiaomi and Moto phones you need to have an unlock code that is generated uniquely for a device by the OEM website. So you will need to register your bootloader unlocking request with these OEM sites. Before you can proceed with the steps mentioned below.
3. Find Device Specific Guide on XDA
You might need to follow a device-specific guide to unlock your device. If you have a device that does not follow the general android bootloader unlocking steps mentioned below. The most authentic source for such a guide is the XDA forum. Where all the custom ROM developers and Android enthusiasts can be found. The google query to find the device-specific guide on XDA can be “Mobile Model Number bootloader unlocking XDA”. For example, for my phone, it will be “MI A1 bootloader unlocking XDA“.
Requirements
You will need the following hardware requirements for this guide
- A phone that supports Standard Android Bootloader Unlocking.
- A Windows laptop or desktop computer.
- A USB Data Cable to connect the phone to your computer.
Apart from these hardware requirements. You will also need to configure your phone. In addition to installing software on your computer. This software allows your computer to connect with your phone. We will now cover these steps.
1. Enable Developer Mode
- Open android Settings by swiping the notification panel twice and then tapping on the gear icon.
- Over here scroll down and tap on the system.
- In the system find the about phone section and tap it to open.
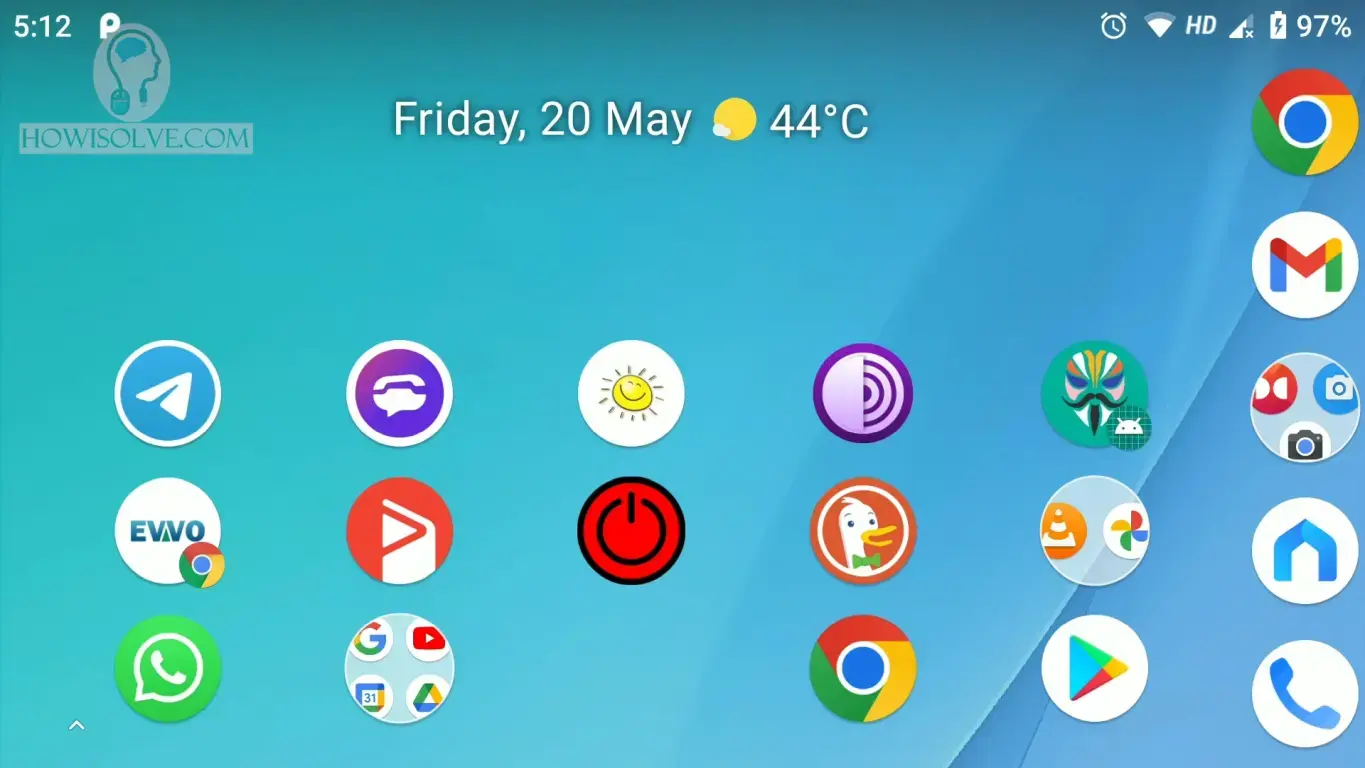
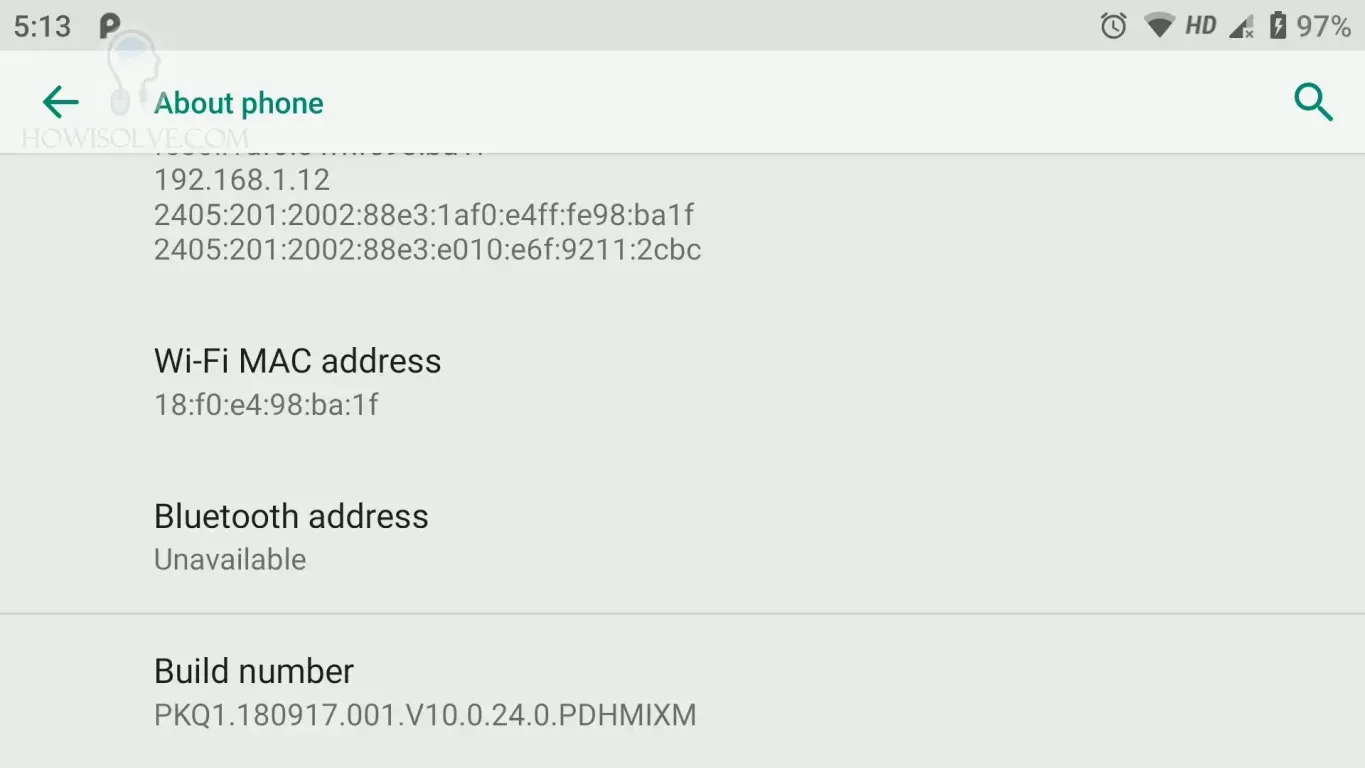
- In the about phone section scroll down to the bottom you will find the build number.
- Tap on the build number 5 times to enable the developer mode.
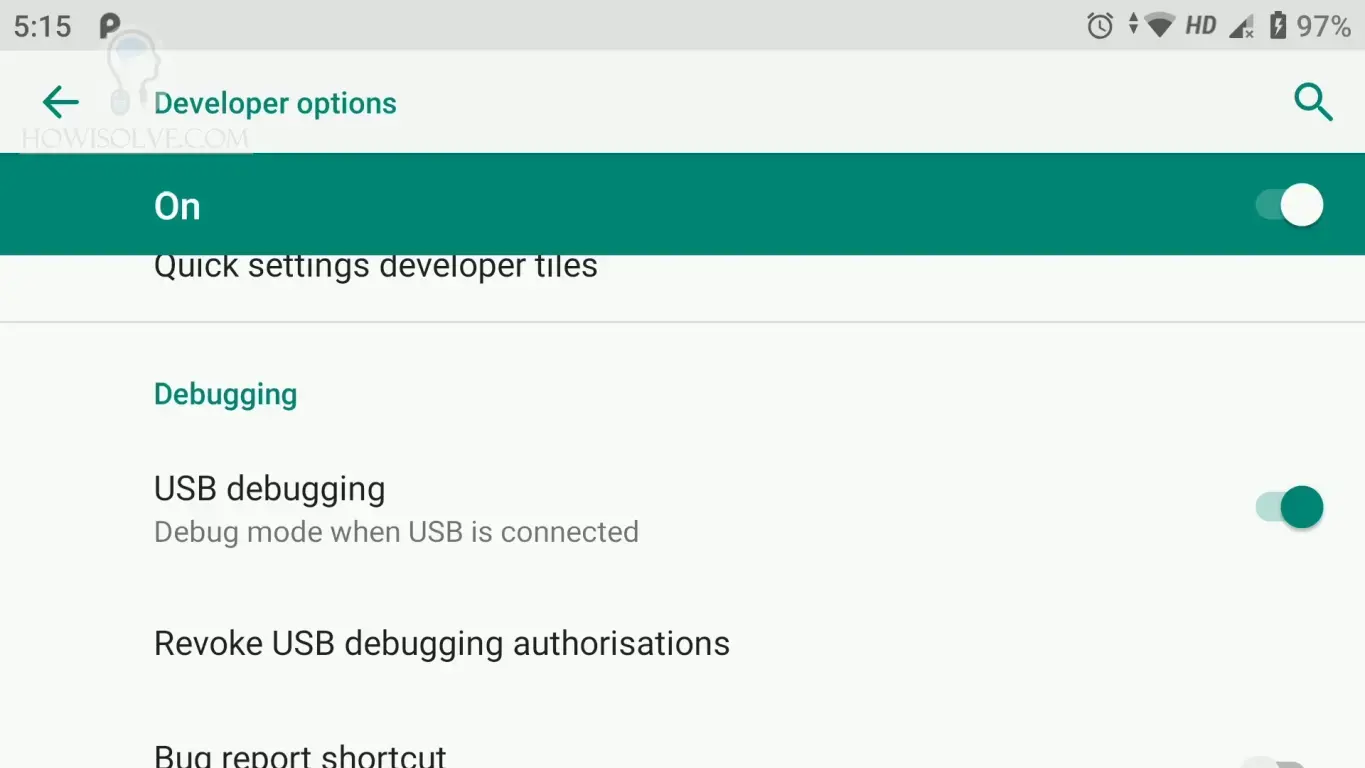
2. Enable USB Debugging
- After you enable developer mode in the about phone section go back to the system section.
- Over here scroll down and tap on the advanced section.
- Here you will see the Developer options section tap on it to open.
- In the Developer options scroll down to the Debugging subsection.
- You will see a toggle button to enable USB debugging.
- Tap on it to turn on USB debugging on your phone.
3. Enable OEM Unlocking (Phone Erased)
- Now scroll above and you will find the OEM unlocking toggle button.
- When you tap on this your phone might ask for a factory reset so make sure that you have a backup of your important data before proceeding.
- Once you are sure you are ready to erase your phone tap on OEM unlocking to enable it.
4. Install ADB Fastboot Drivers and Platform Tools on PC
Now to control your phone from your computer. You will need to install ADB & Fastboot drivers and platform tools. Find the download links for it below. Select based on your phone manufacturer.
- SDK Platform Tools: https://developer.android.com/studio/releases/platform-tools
- Google USB Driver: https://developer.android.com/studio/run/win-usb
- OEM USB Driver: https://developer.android.com/studio/run/oem-usb#Drivers
To install them we have a dedicated video guide which you can find over here How To Install ADB and Fastboot in Windows.
5. Connect Phone To PC Via USB
Once you have configured your phone and computer as mentioned above. Now you are ready. Connect your phone using the USB data cable. Your computer should detect your phone. If not try changing the USB port or USB Data Cable.
6. Use ADB to Reboot To Fastboot
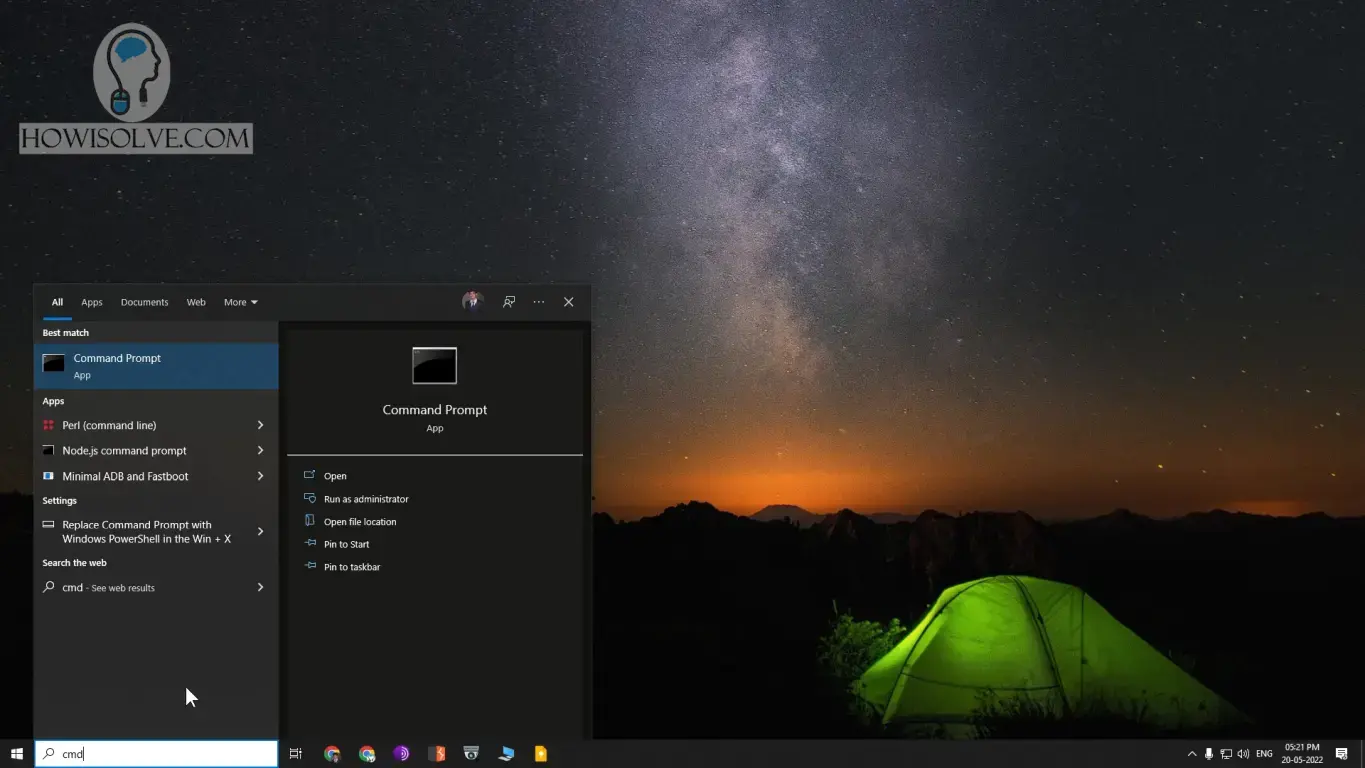
- Open the command prompt by typing in cmd in search and then click on the command prompt app to open it.
- In the command prompt type the command adb devices.
- If you see your phone listed as shown above then you have successfully connected it to your computer.
- Now we will reboot your phone in fastboot mode to unlock your bootloader.
- To reboot in fastboot mode type the command adb reboot bootloader.
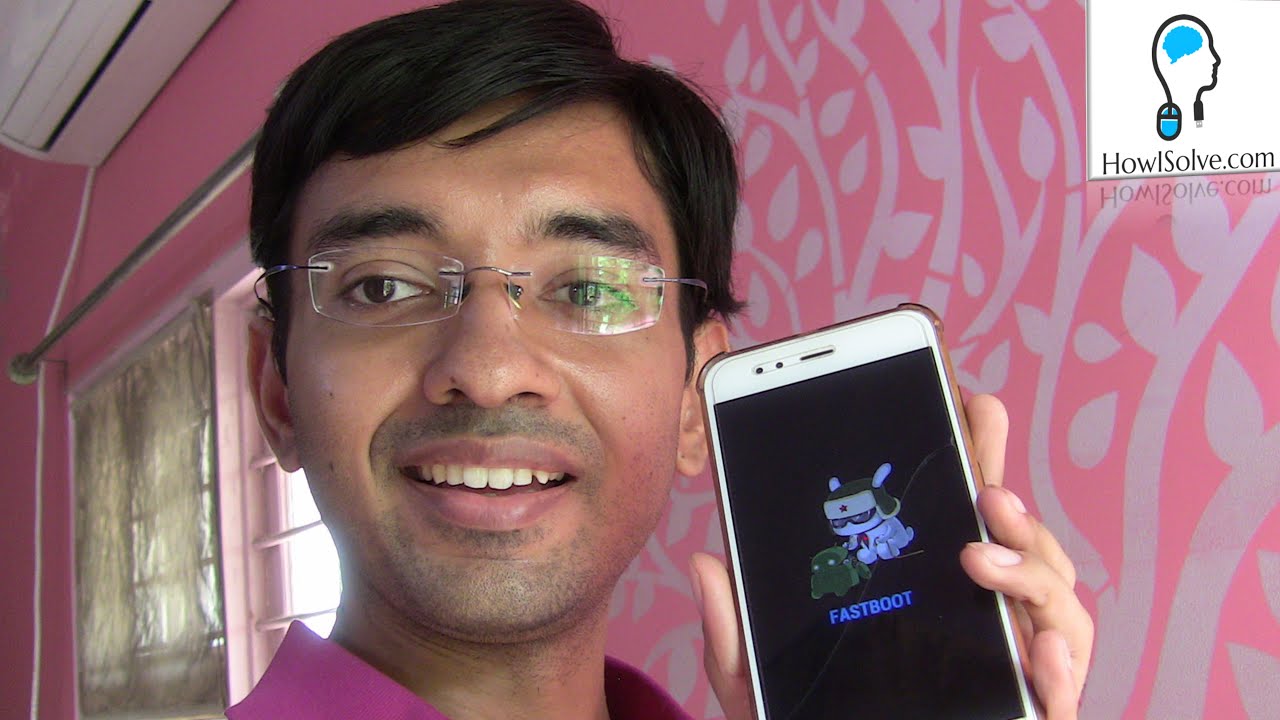
7. Unlock Bootloader in Fastboot (Phone Erased)
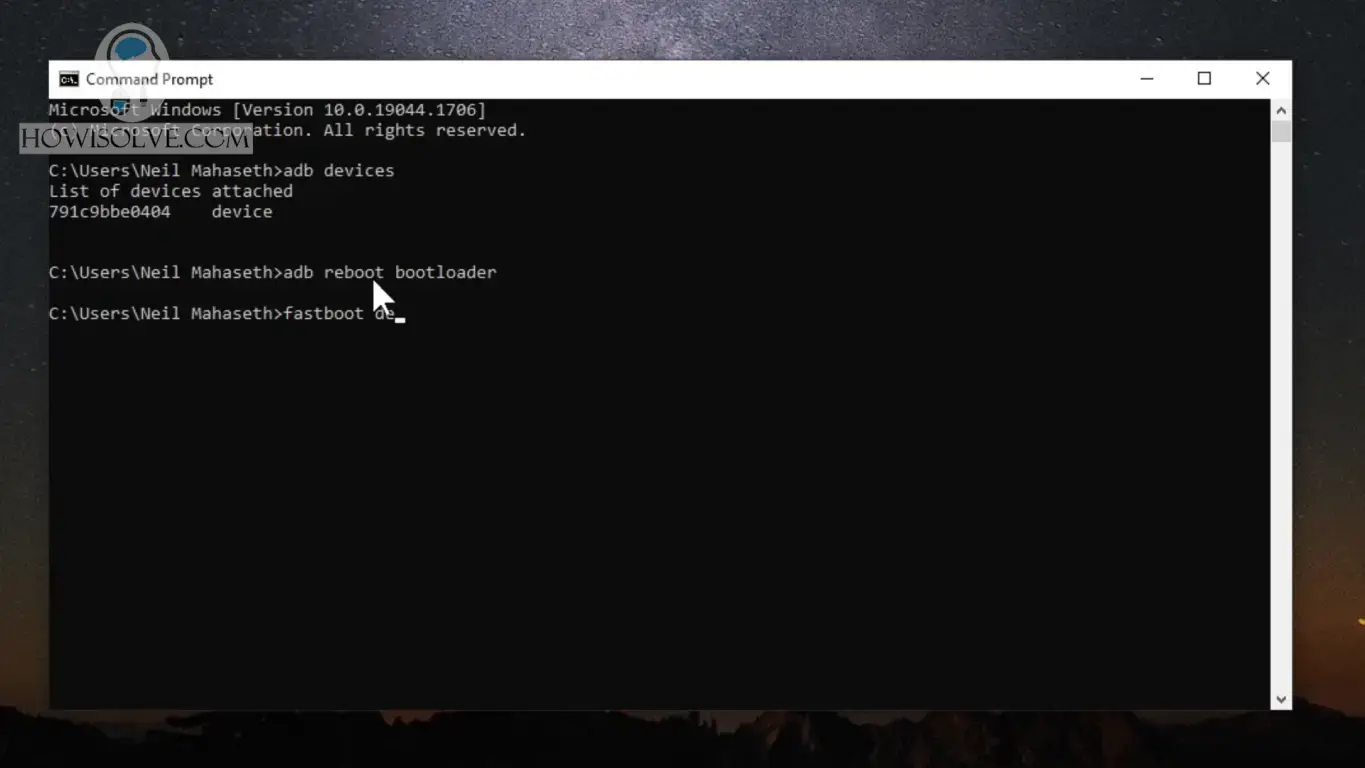
- Now your phone should have rebooted in fastboot mode.
- Type the command fastboot devices in cmd.
- If you see the phone listed as shown above then it has connected successfully.
Now before we unlock the bootloader once again I will warn you. The next command will erase your phone to factory defaults. So make sure to take a backup of your data.
- To unlock your bootloader type the command fastboot flashing unlock.
- This command works for all devices released after 2015 if you have got an older device.
- Type the command fastboot oem unlock.
- Now your bootloader should have been unlocked.
- Now to reboot the phone to normal mode type fastboot reboot.
I Hope, friends you liked this detailed step-by-step guide to unlocking the android bootloader. If you have some questions or are facing some issues. Post them down in the comment section will be glad to help you.
That’s all for today friends Subscribe to our YouTube channel to get more such videos in the future. Subscribe to our newsletters to get email alerts when we release new content. That is it for now friends, see you later bye.